5-Gallon Bucket: Craft Your Own DIY Compost Bin
Composting is an environmentally friendly way of recycling organic waste. It’s a process that transforms your kitchen scraps and yard waste into nutrient-rich soil conditioner, perfect for gardening.
Not only does composting reduce the amount of waste going into landfills, but it also enriches the soil in your garden, promoting plant growth and reducing the need for chemical fertilizers.
One of the simplest ways to start composting at home is by using a 5-gallon bucket. This size is ideal for those with limited outdoor space, such as apartment dwellers or those with small yards.
A DIY 5 gallon bucket compost bin is easy to manage and requires minimal effort to maintain, making it perfect for beginners. In this guide, we will walk you through how to create your own DIY compost bin using a 5-gallon bucket.
The Ultimate Guide to DIY Composting: Building a DIY 5 Gallon Bucket Compost Bin
Materials Needed
To build your own compost bin using a 5-gallon bucket, you will need the following materials:
1. A 5-Gallon Bucket
Choose a sturdy bucket, preferably one that has not been used to store chemicals or other potentially harmful substances. It should have a tight-fitting lid to keep pests away and control odor.
2. Drill and Bits
You will need a drill to make holes in the bucket for ventilation and drainage. The bits should be large enough to create meaningful holes but not so large as to compromise the structural integrity of the bucket.
3. Screen Mesh
This is to cover the holes you’ll drill into the bucket. The mesh keeps pests out while still allowing for proper air circulation and drainage.
4. Zip Ties or Wire
These will be used to secure the screen mesh to the bucket.
5. Composting Materials
You’ll need a mix of green and brown materials. Green items are nitrogen-rich materials like vegetable scraps, coffee grounds, and fresh grass clippings. Browns are carbon-rich materials such as dried leaves, straw, or shredded newspaper.
6. A Second Bucket or Stand (Optional)
If you’d like to collect the compost tea (a nutrient-rich liquid that can be used as a fertilizer), you can place your composting bucket inside a second bucket or on a stand with a catch tray underneath.
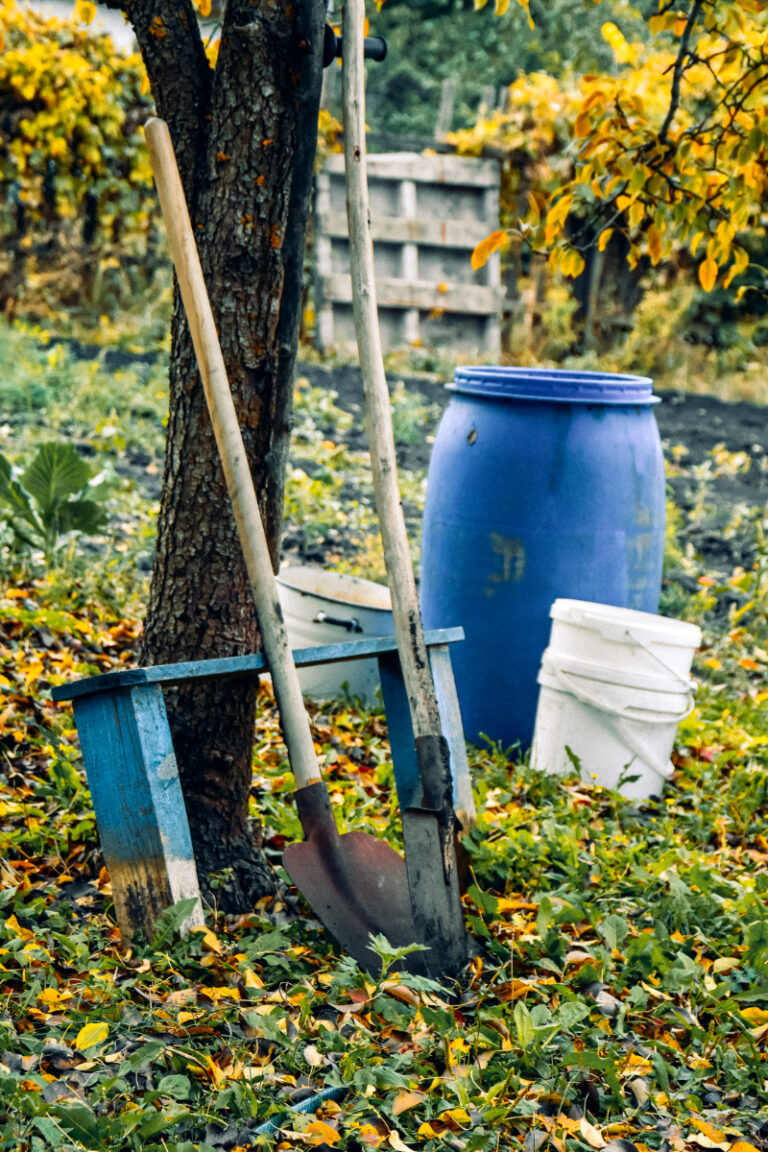
7. A Shovel or Pitchfork
This tool will be used to turn and mix your compost regularly, promoting faster decomposition.
8. Protective Gloves
Composting involves dealing with decomposing organic matter, so it’s advisable to wear gloves to protect your hands from possible irritants and bacteria.
Choosing the Right Bucket
Selecting the right 5-gallon bucket is an essential step in creating your DIY compost bin. Here’s what you should look for:
1. Material
The bucket should be made of durable plastic that can withstand the elements if it will be placed outdoors. Avoid buckets that have held toxic materials or chemicals, as these could contaminate your compost and, subsequently, your garden.
2. Lid
The bucket should come with a secure lid. This will help keep pests out and control any potential odors. If a lid isn’t available, you can use a piece of wood or heavy-duty plastic to cover the top.
3. Color
Dark-colored buckets are often recommended for composting because they absorb more heat from sunlight. This can help speed up the composting process. However, if you live in a hotter climate, a lighter color may be better to prevent overheating.
4. Condition
The bucket should be in good condition, without cracks or significant damage. This ensures that it will be able to hold your composting materials without leaking.
5. Size
While this guide focuses on a 5-gallon DIY compost bucket, the size of the bucket you choose should reflect your composting needs. If you generate a lot of kitchen waste and veggie scraps or have a lot of space, you may need a larger bucket. Conversely, if you’re limited on space or only have a small amount of waste, a smaller bucket might be more suitable.
Preparation of the Bucket
Once you’ve selected the right 5-gallon plastic bucket, it’s time to prepare it for composting. Here’s a step-by-step guide on how to do it:
1. Clean the Bucket
Start by thoroughly cleaning the bucket. If it’s a used bucket, make sure to remove any residue or dirt. You can use warm water and mild dish soap for this. Rinely thoroughly to ensure no soap residue remains.
2. Drill Holes in the Bucket
Next, using your drill and bits, make several holes in your bucket. These holes are necessary for ventilation and drainage, both crucial components of successful composting. Drill a few holes in the bottom for drainage, and around the sides for aeration. Be careful not to make too many holes, as this could weaken the bucket’s structure.
3. Attach the Screen Mesh
Cut pieces of screen mesh large enough to cover the holes you’ve drilled. Secure the mesh over the holes using zip ties or wire. This will keep pests out while still allowing air and moisture to circulate.
4. Prepare the Lid
If your lid is solid, you’ll need to drill a few small holes for additional aeration. Again, cover these holes with screen mesh to prevent pests from getting in.
5. Optional: Set Up Compost Tea Collection
If you’re planning on collecting compost tea, place your prepared bucket inside a second bucket or on a stand with a catch tray underneath. The drainage holes in the bottom of your composting bucket will allow the liquid to drain out – resulting in beautiful LIQUID black gold.
Assembling the Compost Container
After preparing your 5-gallon bucket, it’s time to assemble your compost bin. Here’s a detailed guide with simple steps on how to do it:
1. Layering Composting Materials
Start by adding a layer of brown materials at the bottom of your bucket. This could be dry leaves, straw, or shredded newspaper. This layer aids in drainage and helps to keep the compost pile aerated.
2. Add Green Waste
Next, add a layer of green materials on top of your brown layer. These are your kitchen scraps or food waste like vegetable peels, coffee grounds, or fresh grass clippings. These materials provide the necessary nitrogen for the composting process.
3. Repeat the Layers
Continue alternating between layers of brown and green materials until the bucket is nearly full. Try to maintain a ratio of about 3:1 of browns to greens. This balance helps speed up the composting process and reduces odors.
4. Add Water
Your compost pile should be as damp as a wrung-out sponge. If your materials are too dry, add some water. But be careful not to add too much—you don’t want your compost pile to become soggy.
5. Cover the Bucket
Place the tight-fitting lid securely on top of the bucket. Remember, the lid should have some holes for aeration but be secure enough to keep pests out.
6. Choose a Location
Finally, place your compost bin in a location where it will not be disturbed but is easily accessible for adding materials and turning the compost. It should be kept in a relatively warm place as heat speeds up the composting process.
Maintenance and Usage
Once your DIY composting bin is assembled, proper maintenance is key to creating rich, healthy compost. Here’s how to maintain and use your compost bin:
1. Regularly Add New Materials
Keep adding green and brown materials as they become available. Maintain the ratio of 3 parts browns to 1 part greens to ensure a balanced composting process.
2. Turn the Compost
Every week or so, give your compost a good shake or turn with a shovel or pitchfork. This helps to aerate the pile, rotating up material from the bottom of the bucket, and speeds up the decomposition process.
3. Monitor Moisture Levels
Your compost should stay about as damp as a wrung-out sponge. If it gets too dry, add some water. If it’s too wet, add more brown material to soak up the excess moisture.
4. Check for Odors
Compost should have a pleasant, earthy smell. If it starts to smell bad, it might be too wet or need more brown material. Adjust accordingly.
5. Look for Finished Compost
Over time, the bottom layers of your compost pile will turn into a dark, rich soil-like material. This is your finished compost! You can sift it out to use in your garden and continue composting with the remaining material.
6. Use Your Compost
Finished compost is a great soil amendment. Use it to enrich your garden soil, mix into potting soil, or sprinkle around plants as a natural fertilizer.
7. Clean the Bin Periodically
Every few months, it’s a good idea to empty out your compost bin and give it a thorough cleaning before starting a new batch of compost.
Troubleshooting Common Issues
Even with careful maintenance, you might encounter some issues with your compost bin. Here are some common problems and their solutions:
1. Bad Odor
If your compost pile smells bad, it’s likely too wet or there’s not enough air circulation. Try turning the compost more frequently and adding more brown material to absorb excess moisture.
2. Slow Composting
If your compost pile is taking a long time to decompose, it might be too dry or lacking in green material. Add some water and more nitrogen-rich green waste or food scraps to speed up the process.
3. Pests
If you’re having trouble with pests, make sure your lid is secure and all holes are covered with mesh. Avoid adding meat, dairy, or oily foods to your compost, as these can attract pests.
4. Moldy or Slimy Compost
If your compost looks moldy or slimy, it may have too much green material. Add more brown material to balance it out and turn the compost more often to increase air circulation.
5. Too Much Heat
If your compost pile is getting too hot, it may have too much green material. Add more brown material to balance it out and turn the compost more often to cool it down.
The Benefits of Composting
Composting isn’t just a great way to recycle kitchen and garden waste—it also comes with a host of benefits for your garden and the environment. Here are some of the key advantages:
1. Enriches Soil
Compost is rich in nutrients that plants need to thrive. It improves soil structure, helps retain moisture, and can even help suppress plant diseases and pests.
2. Reduces Waste
Composting is an effective way to reduce the amount of waste going to landfill. Organic materials make up a significant portion of our waste stream, and composting these materials significantly reduces their volume.
3. Saves Money
By making your own compost, you can save money on store-bought soil amendments and fertilizers. Plus, healthier soil means healthier plants, which can save you money on plant replacements and disease treatments.
4. Fights Climate Change
Composting organic waste keeps it out of landfills where it would decompose anaerobically and produce methane, a potent greenhouse gas. Plus, the compost itself helps sequester carbon in the soil.
5. Educates
Composting is a fantastic hands-on educational tool. It’s a great way to learn about the nutrient cycle, decomposition, soil health, and more.
Conclusion
Creating a DIY 5 gallon bucket compost bin is a simple, cost-effective way to start composting at home. Not only does it help reduce waste and save money, but it also enriches your garden soil and contributes to a healthier environment.
The key to successful composting lies in maintaining the right balance of green and brown materials, ensuring good aeration, and controlling moisture levels. With patience and regular maintenance, you’ll soon have a thriving compost pile that transforms your kitchen and garden waste into nutrient-rich compost.
Remember, composting is a natural process that can take time to perfect. Don’t be discouraged if you encounter some issues along the way. With the tips and solutions provided in this guide, you’ll be well-equipped to troubleshoot any problems that arise.
So why wait? Start composting today and discover the many benefits it brings to your garden and the planet. Happy composting!

