DIY Compost Bin: Chicken Wire Style for Garden Lovers
Composting is an eco-friendly practice that can be beneficial for both your garden and the environment. It involves the decomposition of organic waste to produce nutrient-rich soil that can significantly improve the health and productivity of your plants. However, getting started with composting requires choosing the right compost bin.
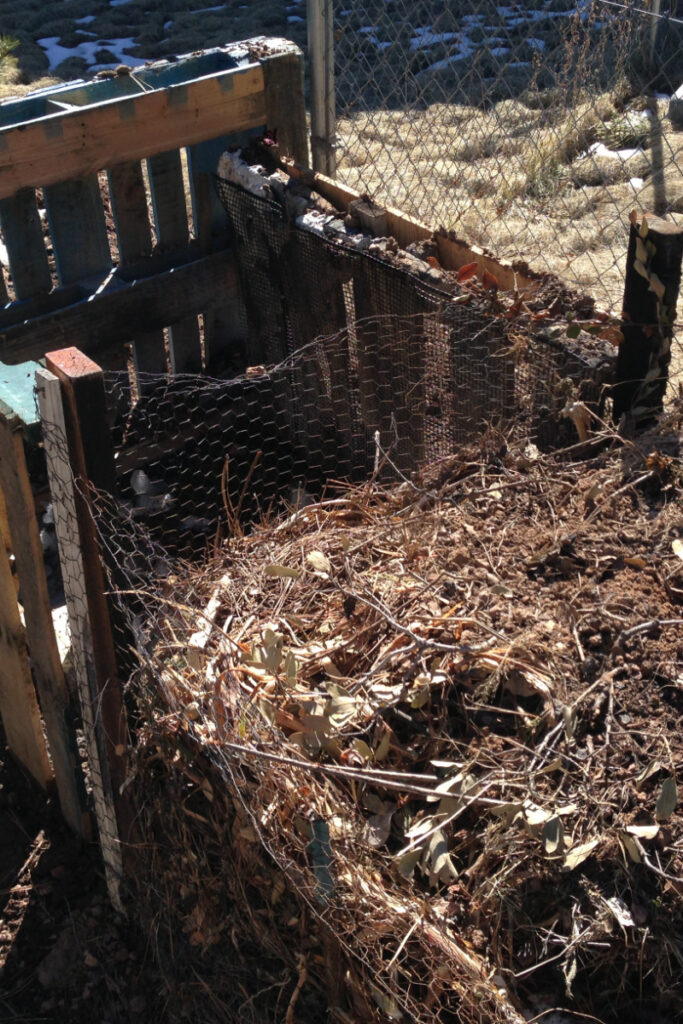
While there are numerous commercial options available, creating your own compost bin can be a rewarding project that allows you to customize it to your specific needs. One of the simplest and most practical designs you can opt for is a chicken wire compost bin.
Chicken wire compost bins are easy to construct, inexpensive, and highly effective at facilitating the composting process. They allow for excellent air circulation, which is crucial for speeding up decomposition. Plus, they’re easily expandable, so you can adjust their size based on the amount of compost you intend to produce.
DIY Compost Bin Chicken Wire: A Step-By-Step Guide
Materials Needed
Creating a chicken wire compost bin is a simple project that doesn’t require many materials. Here’s what you’ll need:
1. Chicken Wire
This is the main component of your compost bin. Choose a roll that’s at least 3 feet high and 10 feet long. This should provide enough material to create a bin with a diameter of about 3 feet, which is an ideal size for efficient composting. You can find chicken wire at most home improvement or garden supply stores.
2. Wooden Posts
You’ll need four wooden posts to create the frame of your compost bin. These should be at least 4 feet high to allow them to be securely embedded in the ground while still providing support for the chicken wire.
3. Wire Cutters
A pair of sturdy wire cutters will make it easy to cut the chicken wire to the appropriate size.
4. Heavy Duty Staples
These will be used to attach the chicken wire to the wooden posts. Make sure they’re suitable for outdoor use to prevent rusting.
5. Hammer
A standard hammer will be needed to drive the staples into the wooden posts.
6. Gloves
Wire can be sharp, so it’s important to wear gloves to protect your hands during construction.
7. Measuring Tape
To ensure your compost bin is the right size, you’ll need a measuring tape to accurately measure the chicken wire and wooden posts.
Choosing the Right Location
Before you start building your compost bin, you need to decide where to place it. This is an important step as the location can influence how well your compost decomposes and how convenient it is to add materials and use the finished compost.
1. Accessibility
Consider placing your compost bin in a location that’s easy to access. You’ll be adding materials to it regularly, so you don’t want it to be in a remote corner of your yard. However, you also might not want it too close to your living spaces due to the potential for odors.
2. Sunlight and Shade
Your compost bin should ideally be located in a spot that gets both sun and shade throughout the day. The sun helps to warm the compost and speed up the decomposition process, while periods of shade prevent it from drying out too quickly.
3. Drainage
Good drainage is crucial for a compost pile. A location that tends to collect water or is prone to flooding can make your compost too wet, which slows down the decomposition process and can cause unpleasant odors. Look for a spot that’s slightly elevated or has good natural drainage.
4. Space
Ensure there’s enough space not only for the bin itself but also for you to work around it. You’ll need room to add materials, turn the compost, and remove the finished product.
Building the Frame
Now that you have gathered your materials and chosen your location, it’s time to start building the frame for your compost bin. This structure will provide support for the chicken wire and help keep your compost contained. Here’s how to do it:
1. Measure and Mark
Using your measuring tape, measure out a 3-foot by 3-foot square on the ground where you plan to set up your compost bin. Mark the corners of the square – these will be the spots where you’ll insert your wooden posts.
2. Insert the Posts
At each marked corner, dig a hole about 1 foot deep. Place a wooden post in each hole, making sure they’re standing upright. Backfill the holes with soil and pack it down firmly to secure the posts.
3. Check the Stability
Give each post a gentle shake to make sure it’s firmly rooted in the ground. They need to be sturdy enough to withstand the weight of the chicken wire and compost materials.
4. Trim the Posts
If your posts are too tall, use a saw to trim them down to size. Remember, the height of the posts should match the height of your chicken wire.
Attaching the Chicken Wire
With the frame set up, it’s time to attach the chicken wire. This will form the walls of your compost bin, allowing for good airflow while keeping your compost materials contained. Here are the steps:
1. Measure and Cut the Chicken Wire
Unroll your chicken wire and measure a length that’s long enough to wrap around the outside of your wooden posts. Use your wire cutters to cut the wire to the correct length. Remember to wear gloves during this step to protect your hands from sharp edges.
2. Attach the Chicken Wire to the Posts
Start at one corner of your frame and secure the end of your chicken wire to the first post using your heavy-duty staples and hammer. The bottom of the chicken wire should align with the base of your posts.
3. Wrap the Chicken Wire Around the Frame
Carefully wrap the chicken wire around the outside of your posts, pulling it tight as you go. At each post, secure the chicken wire with several more staples. Make sure the wire is taut and secure all the way around.
4. Secure the Ends Together
When you’ve wrapped the chicken wire completely around your frame, trim any excess wire. Then, overlap the ends of the wire and secure them together using additional staples or small pieces of wire twisted tightly to hold them in place.
5. Check for Sharp Edges
Once the chicken wire is attached, check for any sharp edges or points that could cause injury. If you find any, bend them inward using pliers or trim them off with your wire cutters.
Using Your Compost Bin
With your DIY chicken wire compost bin now set up, it’s time to start using it. Here’s how to add compost materials and maintain your bin for optimal composting:
1. Layering Materials
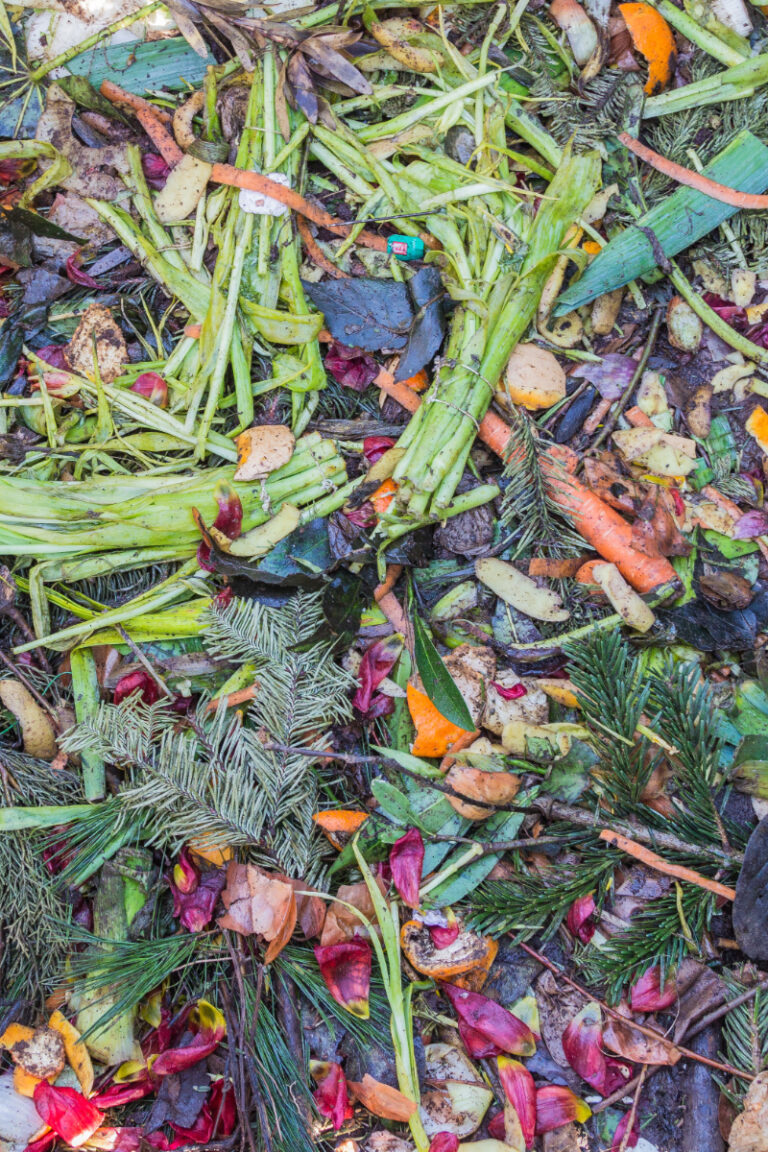
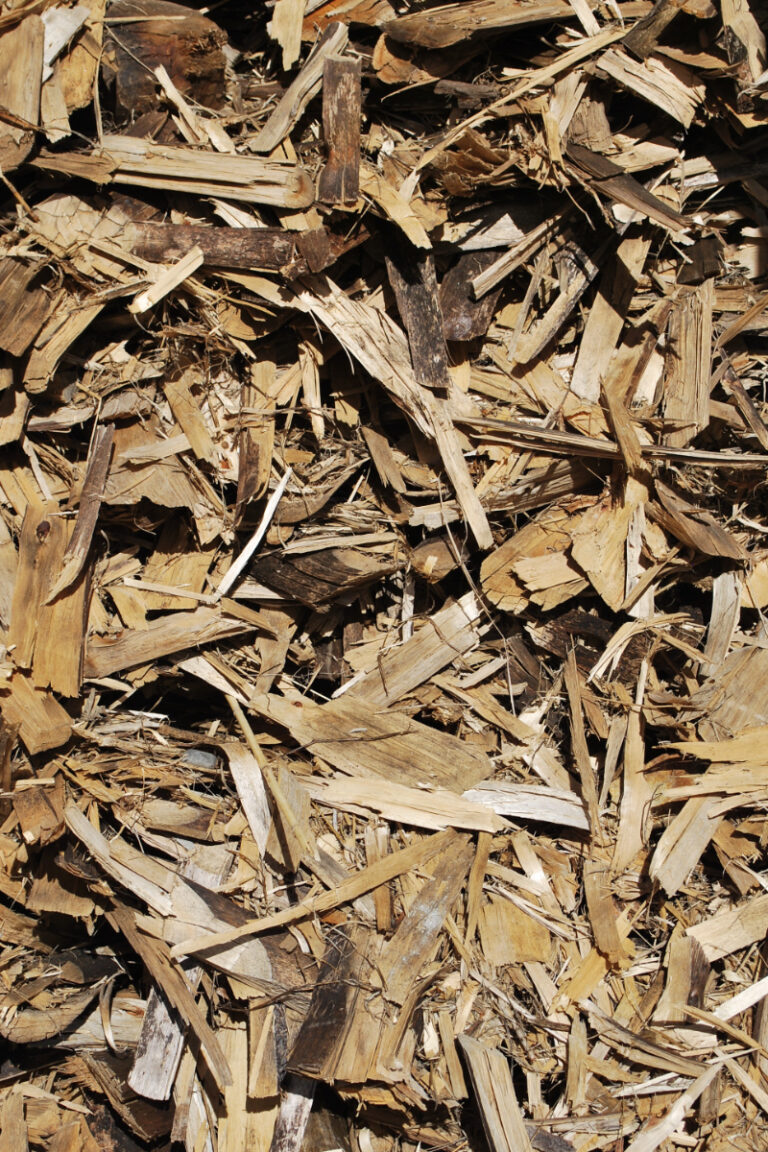
Start with a layer of brown materials at the bottom of your bin; these could be leaves, straw, or shredded paper. Follow this with a layer of green materials such as vegetable scraps, coffee grounds, or grass clippings. Aim for a ratio of about three parts browns to one part greens. This balance helps ensure efficient decomposition.
2. Regular Turning
Every week or so, turn your compost with a garden fork or shovel. This mixes the materials, helps air circulate, and speeds up the composting process.
3. Moisture Levels
Your compost pile should be as damp as a wrung-out sponge. If it’s too dry, you can add water. If it’s too wet, add more brown materials to absorb excess moisture.
4. Checking Progress
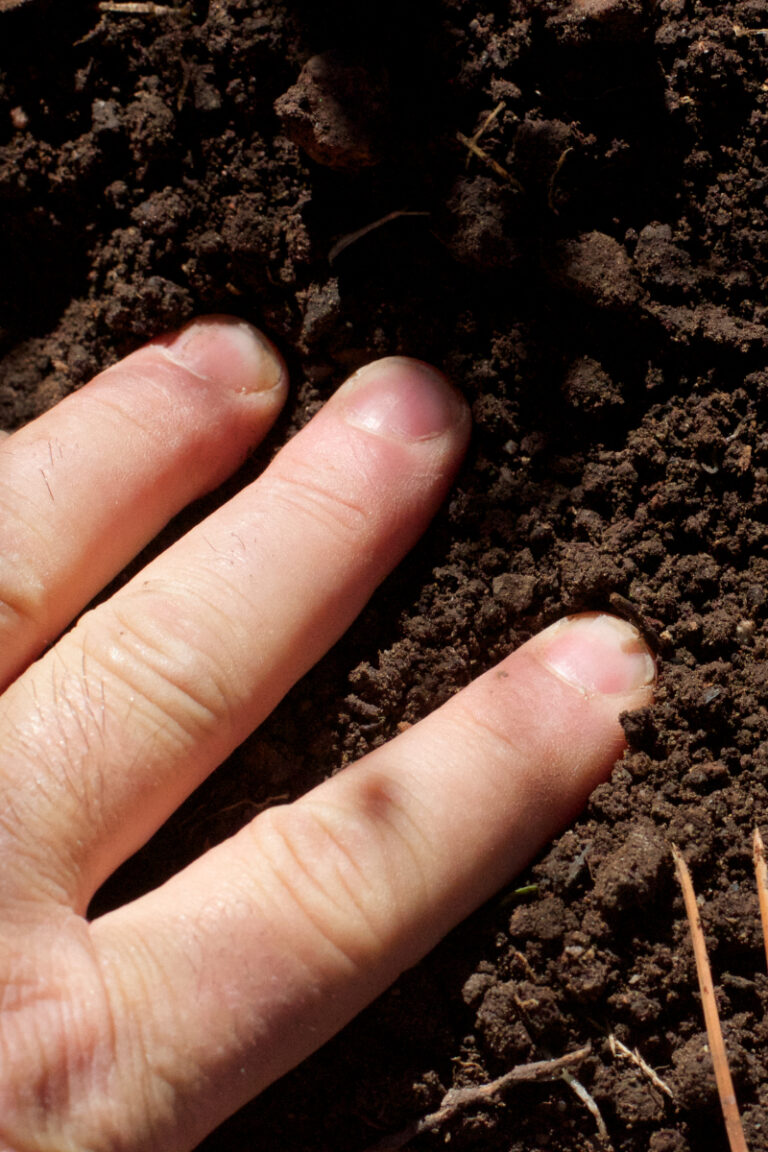
After a few weeks, you should start to see your compost materials breaking down into a dark, crumbly substance that looks like rich garden soil. This is your finished compost, ready to be used in your garden!
5. Harvesting Your Compost
To harvest your compost, simply open up one side of your chicken wire bin and scoop out the finished compost from the bottom of the pile.
Troubleshooting Common Issues
While composting is a relatively straightforward process, you may encounter some issues along the way. Here are common problems and how to solve them:
1. Slow Decomposition
If your compost pile is not breaking down as quickly as you’d like, it might be too dry or lacking in green materials. Try turning the pile more often, adding water until it’s as damp as a wrung-out sponge, and incorporating more green materials.
2. Unpleasant Odor
A well-maintained compost pile should smell earthy. If it stinks, it might be too wet or have too many green materials. Add brown materials and turn the pile to introduce more oxygen.
3. Pests
If you notice pests such as rodents or flies around your compost bin, make sure you’re not adding any meat, dairy, or oily foods, which can attract these pests. Also, ensure your compost pile is well balanced with both green and brown materials.
4. Compost is Too Wet or Soggy
This could be due to too many green materials or excessive rainfall. Add brown materials to absorb some of the moisture, and consider covering your compost pile during heavy rain.
5. Compost is Too Dry
Your compost pile needs moisture to break down effectively. If it’s too dry, try adding water or more green materials, which contain moisture.
Benefits of Composting
Composting not only reduces the amount of waste going into landfills, but it also has several other benefits:
1. Enriches Soil
Compost is rich in nutrients and can greatly improve the quality of your soil. It helps to retain moisture, suppress diseases and pests, and promote healthy plant growth.
2. Reduces Need for Chemical Fertilizers
By using compost, you can reduce or eliminate the need for chemical fertilizers in your garden. This is not only better for the environment, but it’s also healthier for you and your plants.
3. Lowers Carbon Footprint
Composting organic waste at home reduces the amount of methane, a potent greenhouse gas, produced in landfills. It also saves the energy that would otherwise be used to transport and process this waste.
4. Encourages Beneficial Organisms
Compost is teeming with beneficial microorganisms that help break down organic matter to create nutrient-rich humus. These organisms also help to break down and recycle nutrients in the soil, making them more available to plants.
5. Educates on Sustainability
Building and maintaining a compost bin is a great way to teach children and adults alike about sustainability, the cycle of life, and the importance of reducing waste.
Conclusion
Building your own chicken wire compost bin is a rewarding project that offers numerous benefits for both your garden and the environment.
While it may seem daunting at first, with the right materials and a bit of patience, you’ll soon have a thriving compost pile that turns kitchen and yard waste into nutrient-rich compost for your plants.
Remember to maintain a balance between green and brown materials in your compost pile and to keep it moist but not too wet. Regular turning will help speed up the decomposition process and ensure all materials are well mixed.
If you encounter any issues along the way, refer back to the troubleshooting section for guidance. Keep in mind that composting is a natural process and every compost pile is unique. Some may take longer to break down than others and that’s okay.
In the end, the satisfaction of creating your own compost, reducing waste, and nourishing your garden makes composting well worth the effort. So get started today and enjoy the fruits (and vegetables) of your labor!

