DIY In Ground Compost Bin: Easy & Affordable!
Composting is a remarkable way to reduce household waste, enrich your garden soil, and contribute to a healthier environment. An in-ground compost bin, in particular, offers an easy and discreet method of composting that can be beneficial for both novice and experienced gardeners.
In-ground compost bins are essentially compost containers buried in the ground. They provide a host of advantages over traditional compost piles or above-ground bins. Some of these benefits include better odor control, more efficient composting due to ground insulation, and a more aesthetic appeal as they blend seamlessly into your garden landscape.
This guide will walk you through the process of making your own DIY in-ground compost bin. Not only is this project environmentally friendly, but it’s also a great way to add nutrient-rich compost to your garden, improving the health and vitality of your plants. Let’s dive in!
DIY In-Ground Compost Bin
Materials Needed
Creating a DIY in-ground compost bin does not require many materials, and many of the items you need may already be available at home or easily sourced from your local hardware store. Here’s what you’ll need:
1. A Suitable Container
The size of the container will depend on the amount of compostable waste you produce and the space available in your garden. Plastic bins are commonly used due to their durability and ease of handling. Make sure the container is deep enough to be buried in the ground. A 20-30 gallon bin is usually sufficient for most household compost needs.
2. Drill and Bit
You’ll need this to create holes in your bin. These holes allow worms and other beneficial organisms to enter the bin and help with the composting process. They also provide necessary ventilation for the compost.
3. Shovel or Spade
This is required to dig the hole where you’ll place your compost bin. The hole should be deep enough to bury the bin up to its lid.
4. Wire Mesh (optional)
If you live in an area with burrowing animals, you might want to line the bottom and sides of the hole with wire mesh before placing the bin. This prevents animals from burrowing into your compost from below.
5. Compostable Materials
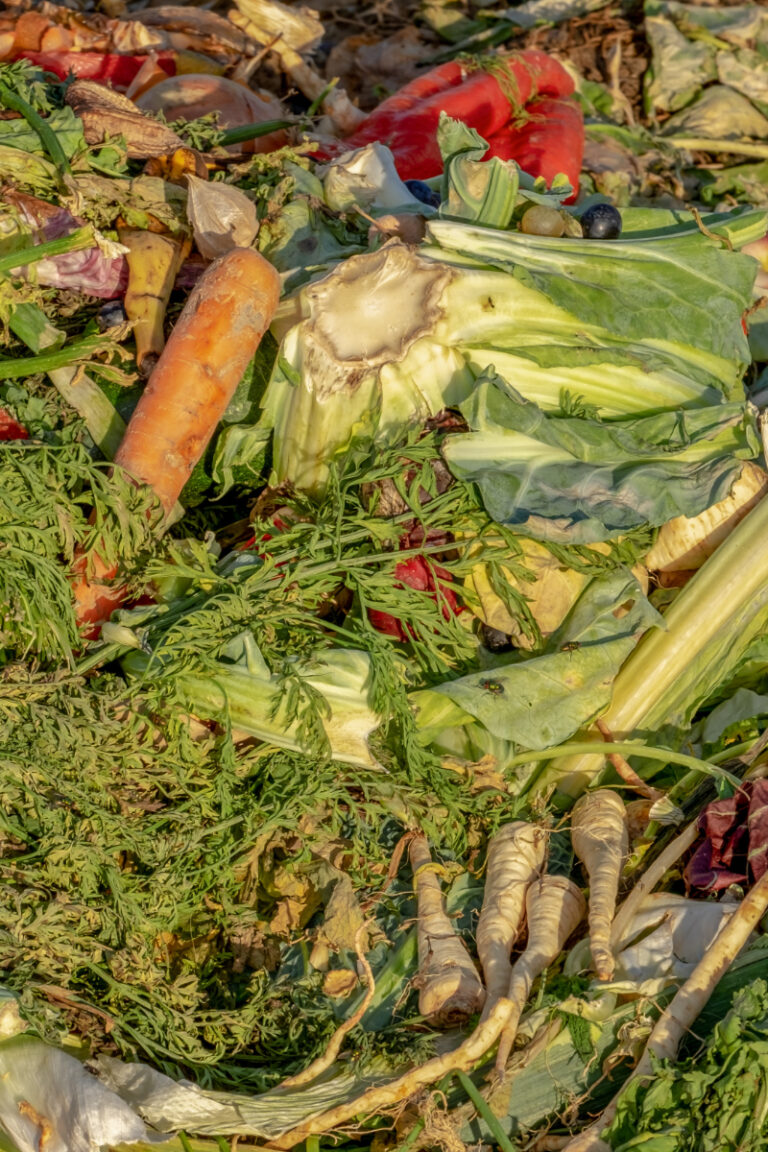
Finally, you will need compostable materials to fill your bin. This includes green waste like fruit and vegetable peelings, coffee grounds, and grass clippings, and brown waste such as dried leaves, twigs, and shredded newspaper.
Choosing the Right Location
Choosing the right location for your in-ground compost bin is crucial for a successful composting process. Here are some factors to consider when deciding on the perfect spot:
1. Accessibility
Your compost bin should be conveniently located, making it easy for you to add compostable materials and use the finished compost in your garden. However, you may not want it too close to your living areas, especially if you’re concerned about potential odors.
2. Sunlight
While composting can occur in both sun and shade, a sunny spot can help speed up the composting process by increasing the temperature inside the bin. However, too much direct sunlight might dry out the compost, so a location that gets a mix of sun and shade throughout the day would be ideal.
3. Drainage
Good drainage is important for an in-ground compost bin. Avoid areas where water tends to collect after a heavy rain. Excess moisture can make the compost too wet and lead to unpleasant smells.
4. Root Interference
Consider the location of trees or large plants. Their roots could interfere with your compost bin, and vice versa.
5. Wildlife
If wildlife is a concern, consider a location that is less accessible to animals, or plan to take steps to secure your compost bin against them.
Preparing the Ground
Now that you have selected your location, it’s time to prepare the ground for your in-ground compost bin. This step is crucial to ensure your compost bin fits well and functions effectively.
1. Marking the Spot
Start by placing your chosen container on the ground at the selected location. Use a marker or spray paint to outline the base of the container onto the soil. This will serve as your guide when digging the hole.
2. Digging the Hole
Using your shovel or spade, begin to dig a hole following the outline you marked. The hole should be deep enough to bury your container up to its lid. Try to keep the sides of the hole as straight as possible to ensure a snug fit for your bin.
3. Checking the Fit
Periodically place your container into the hole to check the fit. Adjust the size of the hole as necessary until your bin fits in it with just the lid above ground level.
4. Preparing for Wildlife (Optional)
If burrowing animals are a concern in your area, this is the time to line your hole with wire mesh. Cut a piece of mesh to fit the bottom of the hole and up the sides. Ensure there are no gaps where animals could enter.
5. Final Fit Check
Place your bin in the hole one final time to ensure it fits correctly. The top of the bin should be level with or slightly above the ground surface. This will prevent water from pooling around the lid and seeping into the bin.
Building the Compost Bin
With the ground prepared, it’s time to build your in-ground compost bin. Here are the steps involved:
1. Drilling Holes
Remove your container from the hole and begin drilling holes in the sides and bottom. These holes will allow worms and other beneficial organisms to enter and exit the bin, while also providing necessary ventilation and drainage. Ensure the holes are large enough for worms but small enough to prevent larger pests from entering.
2. Placing the Bin
Place your drilled container back into the hole, making sure it fits snugly and securely. The lid of the container should be at or just above ground level.
3. Adding Compost Material
Now you can start adding your compostable materials. Start with a layer of brown material, such as dried leaves or shredded newspaper, at the bottom. This helps create air pockets and improves drainage.
Then add a layer of green material, like vegetable scraps or grass clippings. Continue alternating between green and brown layers, aiming for a ratio of 1 part green to 2 parts brown.
4. Maintaining Moisture Levels
Your compost pile should be as damp as a wrung-out sponge. If it’s too dry, add some water. If it’s too wet, add more brown material to absorb excess moisture.
5. Covering the Bin
Finally, cover your compost bin with the lid. This will keep out pests and prevent excess moisture from rain.
Using Your Compost Bin
Now that your in-ground compost bin is set up, it’s time to learn how to use and maintain it effectively for optimal composting. Here are some important tips:
1. Adding Compost Materials
Regularly add your kitchen scraps and yard waste to the compost bin. As a rule of thumb, try to maintain a balance of 1 part green materials (like vegetable peels, coffee grounds, or fresh grass clippings) to 2 parts brown materials (such as dry leaves, straw, or shredded newspaper). This ratio helps ensure a healthy composting process.
2. Turning the Compost
Every few weeks, give your compost a good stir or turn using a shovel or compost aerator. This helps to aerate the pile and speeds up the decomposition process.
3. Monitoring Moisture Levels
The compost should be damp, but not soaking wet. If it’s too dry, add some water or more green materials. If it’s too wet, add more brown materials to help soak up the excess moisture.
4. Avoiding Certain Materials
Not all organic materials are suitable for composting. Avoid adding meat, dairy, diseased plants, and pet waste to your compost bin as these can attract pests and create unpleasant odors.
5. Checking for Readiness
Compost is ready when it looks, feels, and smells like rich, dark earth rather than rotting vegetables. This process can take anywhere from 2 months to a year, depending on the materials used and the weather conditions.
6. Using Your Compost
Once your compost is ready, you can start using it to enrich your garden soil. Add it to your garden beds, mix it into potting soil, or use it as a mulch. Your plants will love the rich nutrients!
Troubleshooting Common Issues
Even with the best practices, you might encounter some challenges with your in-ground compost bin. Here are some common issues and their solutions:
1. Compost is Too Wet or Smelly
This often indicates that there’s too much green material or not enough aeration. Try adding more brown material to balance it out and turn the compost more frequently to increase aeration.
2. Compost is Too Dry
If the compost pile seems too dry or the decomposition process is very slow, it could be due to a lack of green materials or insufficient moisture. Add more green materials or lightly moisten your compost pile with water.
3. Presence of Pests
If you notice pests like rodents in your compost, it could be because you’re composting materials that attract them, like meat or dairy products. Stick to plant-based kitchen scraps and yard waste.
4. Compost Isn’t Breaking Down
This could be due to a lack of green materials, insufficient moisture, or poor aeration. Try adding more green materials, moistening the pile, or turning it more frequently.
The Environmental Benefits of Composting
Creating an in-ground compost bin not only benefits your garden, but it also has significant environmental advantages. Let’s delve into some of these:
1. Reducing Waste
By composting food scraps and yard waste, you’re diverting a significant amount of waste from landfills. In the U.S., for example, more than 28% of household waste is compostable material.
2. Lowering Greenhouse Gas Emissions
When organic waste decomposes in a landfill, it does so without oxygen, producing methane—a potent greenhouse gas. Composting, on the other hand, is an aerobic process and does not produce methane.
3. Enriching Soil
Compost adds valuable nutrients to the soil, reducing the need for chemical fertilizers. It also improves soil structure, enhancing its ability to hold water and resist erosion.
4. Supporting Biodiversity
A healthy compost pile is teeming with life, from microscopic bacteria to larger creatures like worms and beetles. These organisms play a crucial role in breaking down organic matter and contributing to a healthy soil ecosystem.
5. Conservation of Resources
Using compost in your garden reduces the need for water, fertilizers, and pesticides, conserving these resources and reducing pollution.
Conclusion: The Power of Composting
Composting is a powerful tool in the gardener’s arsenal. Not only does it provide nutrient-rich soil for your plants, but it also reduces waste, lowers greenhouse gas emissions, and contributes to a healthier environment. Creating an in-ground compost bin is a simple, cost-effective way to start composting at home.
Although it might seem daunting at first, with a little bit of patience and persistence, anyone can become a successful composter.
It’s all about finding the right balance of green and brown materials, maintaining the correct moisture level, and ensuring good aeration. And even if things don’t go perfectly, remember that composting is a natural process that’s pretty forgiving.
So why wait? Start your composting journey today and reap the rewards in your garden and for the planet. And once you’ve mastered the art of composting, you can consider expanding your garden and composting skills even further. Happy gardening!

