How to Make All-Purpose Cleaner – Natural and Easy DIY Recipe
Creating your own all-purpose cleaner is not only a great way to save money, but it can also help you avoid harsh chemicals that are often found in store-bought cleaners. With natural ingredients, you can create a cleaning solution that is effective and safe for use in your home.
Today, we will provide a step-by-step process on making your own all-purpose cleaner using organic ingredients and offer tips on adjusting the recipe according to your preferences.
By following these guidelines, you can maintain a clean and healthy living space while also doing your part to protect the environment.
How to Make All-Purpose Cleaner
Gather Your Ingredients
To make your own all-purpose cleaner, you will need the following ingredients. Whenever possible, opt for high-quality, organic options to ensure the best results and minimize any potential harm to your surfaces or health.
- White vinegar: Known for its natural cleaning and disinfecting properties, it effectively cuts through grease and grime without leaving harmful residues.
- Water: Plain tap water works well for diluting vinegar, but you may also choose distilled or filtered water for an even cleaner solution.
- Baking soda: A gentle abrasive baking soda helps to remove stubborn stains and neutralize odors.
- Essential oils (optional): Adding a few drops of your favorite essential oil can enhance the cleaning power of your all-purpose cleaner and leave a pleasant scent. Some popular choices include lemon, lavender, tea tree, and eucalyptus oils, as they possess additional antibacterial and antifungal properties.
- Spray bottle: A clean, empty spray bottle is essential for mixing and applying your all-purpose cleaner. Make sure it has a tight-fitting lid to prevent leaks or spills.
Prepare Your Work Area
Before you begin making your all-purpose cleaner, it’s essential to prepare your work area to ensure a smooth and efficient process. Follow these steps to set up a clean and organized workspace:
- Choose a well-ventilated space: When mixing your cleaner, it’s best to work in an area with good airflow to avoid inhaling any strong fumes from the vinegar or essential oils.
- Clear and clean your workspace: Remove any clutter from your work surface and wipe it down with a damp cloth to eliminate dust or debris. This will help prevent contamination of your homemade cleaner.
- Gather necessary tools: In addition to your ingredients, make sure you have a measuring cup, a funnel (if needed), a mixing spoon or whisk, and a clean cloth or sponge for wiping surfaces.
- Protect your hands: While the ingredients in your all-purpose cleaner are safe and natural, some people may have sensitivities to certain substances, such as vinegar or essential oils. It’s a good idea to wear gloves while handling these ingredients to protect your skin.
- Keep a clean cloth nearby: Having a clean cloth or paper towel on hand helps clean up any spills or drips during the mixing process.
Mix the Ingredients
Now that your workspace is prepared, it’s time to mix the ingredients for your all-purpose cleaner. Follow this step-by-step guide to create an effective and natural cleaning solution:
- Measure the vinegar and water: In a measuring cup, combine equal parts white vinegar and water. For example, if you’re making a 16-ounce batch of cleaner, use 8 ounces of vinegar and 8 ounces of water.
- Add baking soda: Slowly add one tablespoon of baking soda to the vinegar and water mixture. Be cautious as the combination may fizz up initially. Stir gently until the baking soda has dissolved completely.
- Add essential oils (optional): If you’d like to add a pleasant scent and boost the antibacterial properties of your cleaner, include 10-20 drops of your chosen essential oil(s). Some popular options are lemon, lavender, tea tree, and eucalyptus.
- Mix thoroughly: Use a mixing spoon or whisk to combine all the ingredients well, ensuring a uniform solution.
- Transfer to spray bottle: Carefully pour the mixture into your clean spray bottle using a funnel if necessary. Secure the lid tightly to prevent leaks.
- Label your cleaner: To avoid confusion, label your spray bottle with the contents and date of creation. This will also help you keep track of the shelf life of your homemade cleaner.
Feel free to adjust the recipe according to your preferences or the specific cleaning needs of your home. You may increase or decrease the amount of vinegar for stronger or milder cleaning power or experiment with different essential oil combinations to find your favorite scent.
Apply the Cleaner
Applying your homemade all-purpose cleaner is simple and safe for various surfaces around your home. Remember always to test your homemade cleaner on a small, hidden surface area before applying it to the entire area to avoid potential damage or discoloration.
Additionally, avoid using this cleaner on materials that may be sensitive to vinegar, such as marble or granite, as it can cause etching.
General cleaning
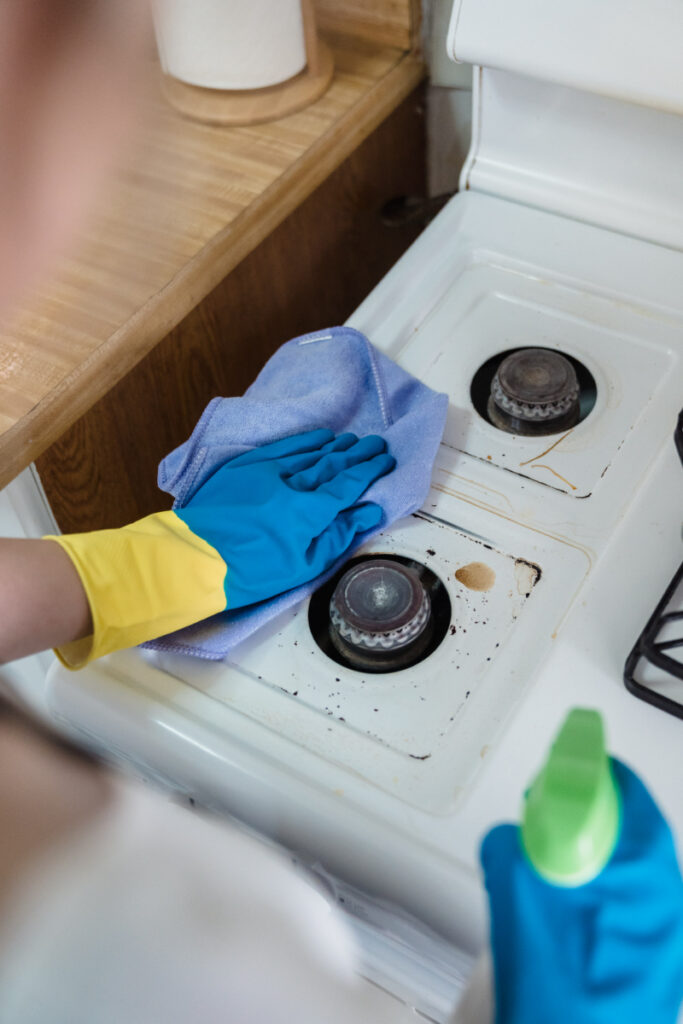
For everyday cleaning tasks, such as wiping down countertops, tables, or appliances, simply spray the cleaner onto the surface and wipe it off with a clean, damp cloth or sponge.
Be sure to test the cleaner on a small, inconspicuous area first to ensure compatibility with the material.
Glass and mirrors
To clean glass surfaces and mirrors without leaving streaks, spray the cleaner onto the surface and then wipe it off with a microfiber cloth or paper towel, using a circular motion.
Floors
For cleaning non-porous floors, such as tile or laminate, mix a larger batch of the cleaner in a bucket and mop the floor as usual. Avoid using this cleaner on porous or unsealed surfaces, such as untreated hardwood floors, as the vinegar may damage the material.
Bathroom surfaces
The all-purpose cleaner works well for cleaning sinks, bathtubs, showers, and toilets. Spray the cleaner on the surface and let it sit for a few minutes to loosen any grime before wiping it away with a damp cloth or sponge.
Stubborn stains and grime
For tougher cleaning tasks, like removing soap scum or hard water stains, create a paste by mixing equal parts baking soda and water.
Apply the paste to the stained area, let it sit for 10-15 minutes, then scrub gently with a soft brush or cloth before rinsing with water.
Store the Cleaner Properly
Proper storage of your homemade all-purpose cleaner is crucial for maintaining its effectiveness and ensuring safe use. Follow these guidelines to store your cleaner correctly:
- Keep it in a cool, dark place: Store your spray bottle in a cool, dark area, such as a cabinet or pantry, to protect the essential oils from losing their potency due to exposure to light and heat.
- Use a well-sealed container: Ensure that the spray bottle’s lid is tightly secured to prevent leaks, spills, or evaporation of the cleaner. Using a high-quality, durable spray bottle will help maintain the integrity of your homemade cleaner.
- Label the bottle: Clearly label the spray bottle with the contents and the date it was made. This will help you keep track of the cleaner’s shelf life and avoid any confusion with other household products.
- Regularly check the solution: Over time, the cleaner’s ingredients may separate, especially if it contains essential oils. Before each use, give the bottle a gentle shake to mix the ingredients and ensure even distribution.
- Monitor the shelf life: While your homemade all-purpose cleaner should last for several months, it’s essential to keep an eye on its shelf life. If you notice any changes in the scent, consistency, or effectiveness of the cleaner, it may be time to make a fresh batch.
Conclusion
Congratulations on making your very own all-purpose cleaner!
As you use your homemade all-purpose cleaner, experiment with different essential oil combinations or adjust the recipe to suit your needs best. With some creativity and simple ingredients, you can clean your home effectively and safely while contributing to a healthier, more sustainable lifestyle.
