DIY Herbal Floor Cleaner: How to Make a Natural Cleaning Solution
Keeping our homes clean is important for maintaining a healthy living environment. However, many commercial cleaning products contain harsh chemicals that can be harmful to both our health and the environment. This is where natural cleaners come in handy.
One great option is herbal floor cleaner, which can be made easily at home using simple ingredients. Not only is it an eco-friendly option, but it’s also affordable and effective.
How to Make Herbal Floor Cleaner
Ingredients
When selecting your ingredients, try to choose high-quality, organic options whenever possible. This ensures that your homemade cleaner is free from harmful chemicals and is safe for you, your family, and the environment.
Here’s a list of what you’ll need:
- Distilled White Vinegar: An excellent natural cleaner and disinfectant, vinegar helps remove dirt, grime, and odors from your floors.
- Water: Acts as a base for your cleaner and helps dilute the other ingredients.
- Essential Oils: Choose your favorite scents with antibacterial and antiviral properties, such as lavender, tea tree, eucalyptus, or lemon. These oils not only give your cleaner a pleasant fragrance but also enhance its cleaning power.
- Liquid Castile Soap: A gentle, plant-based soap that helps lift dirt and stains without leaving residue on your floors.
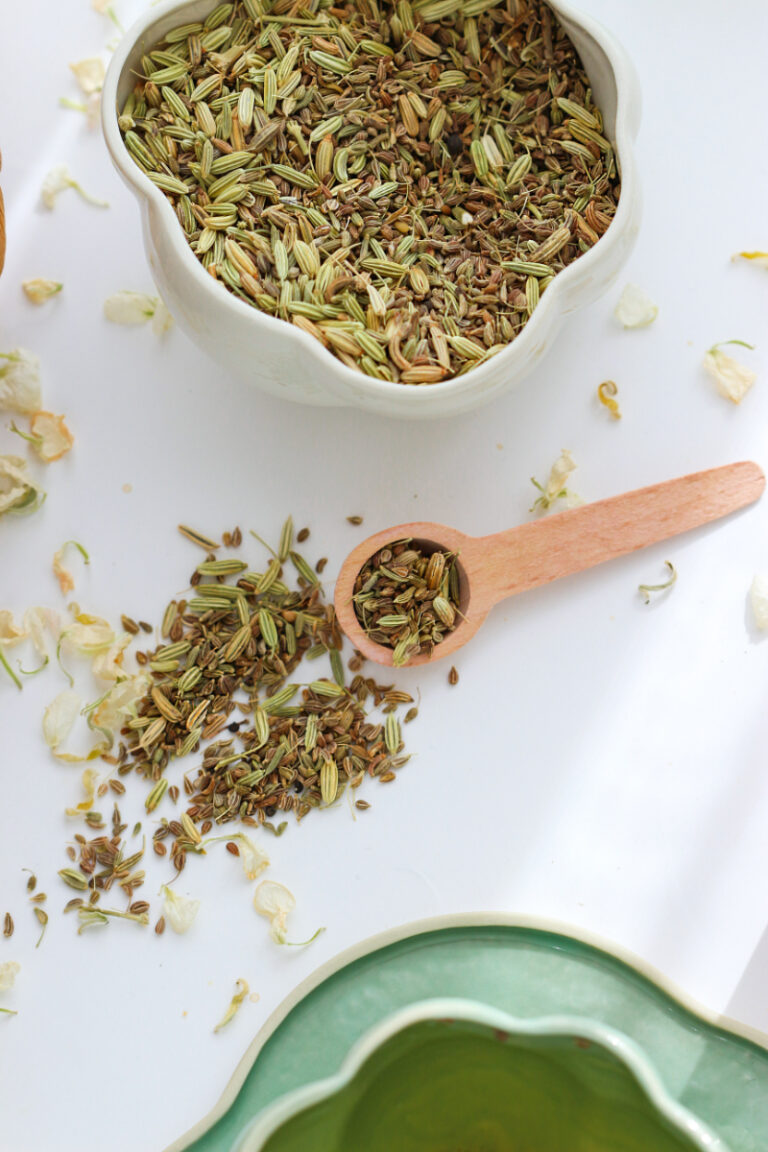
- Fresh Herbs (optional): For an added touch of freshness, consider incorporating fresh herbs like rosemary, thyme, or mint into your cleaner. These herbs have natural antimicrobial properties and can further boost the effectiveness of your floor cleaner.
Prepare Your Work Area
Before you start making your herbal floor cleaner, it’s essential to prepare your work area to ensure a clean and organized space.
- Choose a well-ventilated area: Pick a spot with good airflow, preferably near a window or door, to help dissipate any strong scents from the essential oils.
- Clean the surface: Wipe down your countertop or table with a damp cloth to remove any dust or debris. This prevents cross-contamination and ensures that your cleaner remains pure and effective.
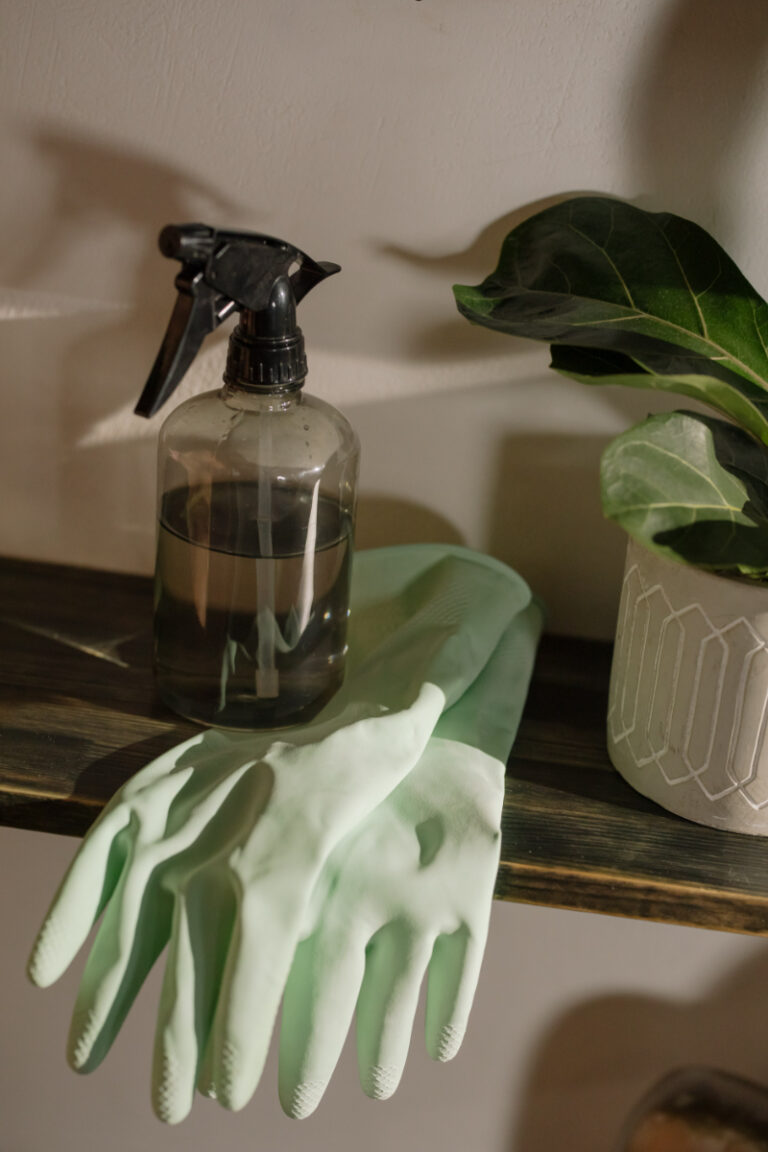
- Gather your tools and equipment: You’ll need a large mixing bowl, a measuring cup, a funnel, a stirring spoon, and a reusable spray bottle or another container to store your finished cleaner. Make sure all tools are clean and free from residue.
- Keep a towel handy: In case of spills or drips, have a clean cloth or paper towel nearby for quick cleanup.
- Organize your ingredients: Arrange your ingredients in the order you’ll be using them, so you can easily access them as you mix your cleaner. This also helps prevent mistakes and ensures a smooth process.
Mix the Ingredients
Feel free to adjust the recipe according to your needs and preferences. You can experiment with different combinations of essential oils and herbs to create a custom scent and cleaning power that works best for your home.
- Measure the water: Pour 2 cups of water into your mixing bowl. This will act as the base for your cleaner and help dilute the other ingredients.
- Add white vinegar: Carefully measure 1 cup of distilled white vinegar and pour it into the mixing bowl with the water. Vinegar is a natural cleaner and disinfectant to help remove dirt and grime from your floors.
- Add liquid Castile soap: Add two tablespoons of liquid Castile soap to the mixture. This gentle, plant-based soap will help lift dirt and stains without leaving residue on your floors.
- Select your essential oils: Choose your preferred essential oils with antibacterial and antiviral properties, such as lavender, tea tree, eucalyptus, or lemon. Add 15-20 drops of each oil to the mixture, depending on the desired strength of the scent.
- Add fresh herbs (optional): If you’d like to incorporate fresh herbs like rosemary, thyme, or mint, finely chop or crush them and add about one tablespoon to the mixture. These herbs can boost the cleaning power of your floor cleaner with their natural antimicrobial properties.
- Mix thoroughly: Use your stirring spoon to blend all the ingredients until they are well combined. Ensure that the soap and essential oils are evenly distributed throughout the mixture.
- Transfer to a container: Using a funnel, carefully pour the cleaner into a reusable spray bottle or another storage container. Seal the container tightly to preserve the freshness and potency of the cleaner.
Apply the Cleaner
Once you’ve successfully mixed your herbal floor cleaner, follow these steps to apply it effectively and safely on your floors:
Test the cleaner on a small area
Before using the cleaner on your entire floor, it’s essential to test it on a small, inconspicuous spot to ensure it won’t cause any damage or discoloration to your flooring material.
Allow the cleaner to sit for a few minutes, then wipe it away and check for any adverse reactions.
Sweep or vacuum the floor
Remove any loose dirt, dust, and debris from the floor by sweeping or vacuuming thoroughly. This will allow the cleaner to work more effectively on the surface.
Apply the cleaner
If you’re using a spray bottle, lightly mist the floor with the cleaner, making sure not to oversaturate the area.
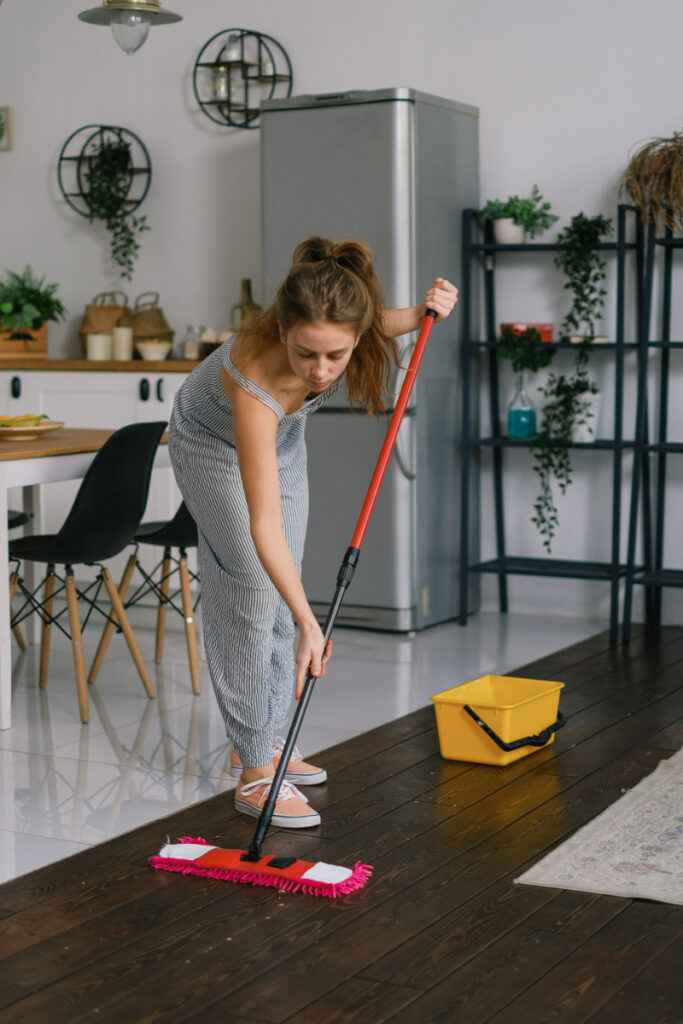
For larger surfaces, you can also use a mop bucket and dip your mop into the cleaning solution before wringing it out well.
Mop the floor
Using a microfiber mop or cloth, gently scrub the floor in a back-and-forth motion, working in small sections to ensure even coverage. Make sure to wring out the mop frequently to avoid leaving excess water on the floor.
Allow the floor to dry
After mopping, let the floor air-dry completely. Avoid walking on the wet surface to prevent slips and falls.
Rinse if necessary
Depending on your floor type and the level of dirt, you may need to rinse the floor with clean water after using the cleaner. This is especially important for surfaces sensitive to vinegar, such as hardwood or natural stone.
Store the Cleaner Properly
To maintain the effectiveness and freshness of your herbal floor cleaner, it’s crucial to store it correctly. Follow these guidelines for proper storage:
Use an airtight container
Store your cleaner in a reusable spray bottle, glass jar, or other airtight containers to prevent evaporation and maintain the potency of the essential oils.
Keep away from direct sunlight
Exposure to sunlight can cause the essential oils to break down and lose their effectiveness. Store your cleaner in a cool, dark place, such as a cabinet or pantry, to prolong its shelf life.
Avoid extreme temperatures
Fluctuations in temperature can affect the quality and consistency of your cleaner. Keep it away from heat sources like radiators or appliances, and avoid storing it in freezing conditions.
Label your container
Clearly label your storage container with the contents (“Herbal Floor Cleaner”) and the date it was made. This will help you keep track of the age and ensure you’re using the cleaner while it’s still fresh and effective.
Check for freshness
Homemade cleaners typically have a shorter shelf life than commercial products. Depending on the ingredients used, your herbal floor cleaner should last between one and three months.
If you notice any changes in color, smell, or consistency, it may be time to discard the cleaner and make a new batch.
Conclusion
Making your herbal floor cleaner is a great way to save money, reduce waste, and create a natural cleaning solution that’s safe for you, your family, and the environment. By making your herbal floor cleaner, you can take control of what goes into your cleaning products and feel good about your positive impact on your health, your home, and the planet.
Remember to prepare your workspace, gather your ingredients, mix them thoroughly, apply the cleaner effectively, and store it properly to keep it fresh and effective.
Don’t be afraid to experiment with combinations of essential oils and herbs to create a custom scent and cleaning power that works best for you.
