How to Make Lotion at Home
Making your own lotion at home can be a fun and rewarding activity that allows you to create a personalized skincare product that meets your specific needs.
Apart from being cost-effective, making lotion at home also gives you control over the ingredients you use, ensuring that you avoid harsh chemicals that may be present in store-bought products.
How to Make Lotion at Home
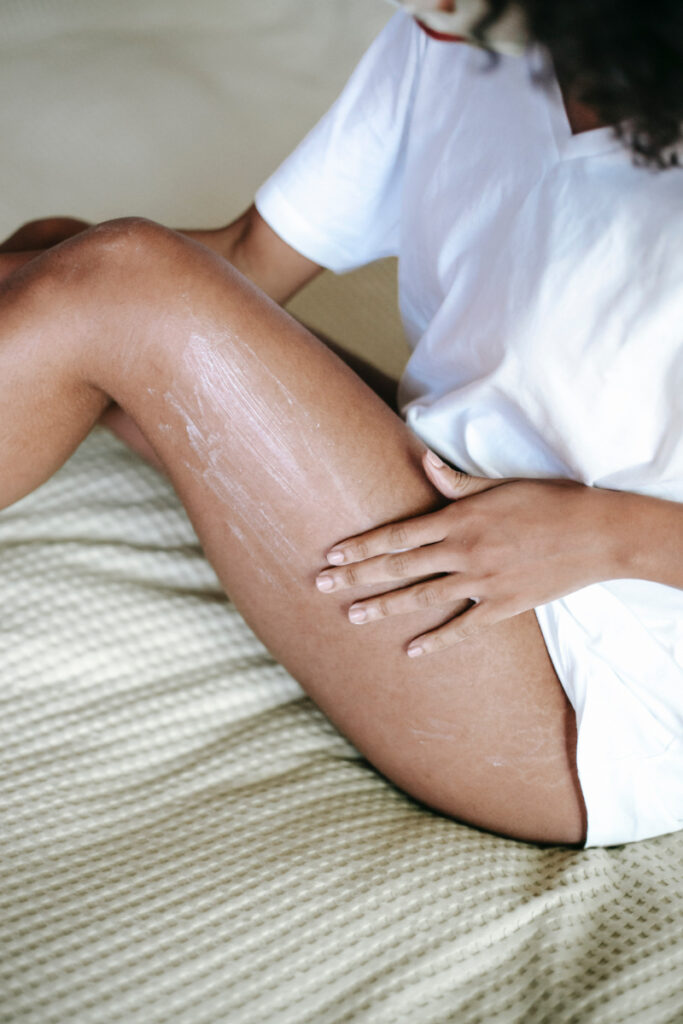
Gather Supplies
Before you begin making your lotion at home, it’s essential to gather all the necessary supplies and ingredients. Here’s a list of what you’ll need:
Equipment:
- Double boiler or a heat-safe glass bowl and saucepan
- Thermometer (preferably digital)
- Immersion blender or electric hand mixer
- Kitchen scale for measuring ingredients
- Spatula or spoon for stirring
- Containers or jars with lids for storing the finished lotion
- Mixing bowls (preferably glass or stainless steel)
Ingredients:
- Distilled water or hydrosol (e.g., rosewater, lavender water)
- Oil phase: Carrier oil(s) of your choice (e.g., almond oil, jojoba oil, olive oil)
- Emulsifying wax or emulsifier (e.g., beeswax, candelilla wax, lecithin)
- Butter (optional): Shea, cocoa, or mango butter for added richness
- Humectant (optional): Glycerin or honey for added moisturizing properties
- Preservative (e.g., benzyl alcohol, phenoxyethanol, or a natural alternative like grapefruit seed extract)
- Essential oils or fragrance oils for scent (optional)
Steps to Make Lotion at Home
Follow these step-by-step instructions to make lotion at home:
- Step 1: Measure your ingredients Using a kitchen scale, measure out the water or hydrosol, carrier oil(s), emulsifying wax, butter (if using), and humectant (if using) according to your desired recipe.
- Step 2: Heat the oil phase and water phase separately Place the carrier oil(s), butter (if using), and emulsifying wax in a double boiler or heat-safe glass bowl over a saucepan of simmering water. Heat until the wax has completely melted, stirring occasionally. In a separate container, heat the water or hydrosol until it reaches the same temperature as the oil phase (use a thermometer to check).
- Step 3: Combine the oil and water phases Slowly pour the heated water phase into the oil phase while continuously mixing with an immersion blender or electric hand mixer. This process creates an emulsion that will ultimately be the base of your lotion.
- Step 4: Cool the mixture Allow the emulsion to cool down to room temperature, stirring occasionally to prevent separation. As the mixture cools, it will start to thicken.
- Step 5: Add preservative and fragrance (optional) Once the lotion has cooled, add the preservative according to the manufacturer’s instructions. If you want to add essential oils or fragrance oils for scent, do so at this stage. Mix thoroughly to ensure even distribution.
- Step 6: Transfer to containers Using a spatula or spoon, transfer the finished lotion into clean, sterilized containers or jars with lids. Make sure to label the containers with the date and ingredients used.
Tips to Ensure Success:
- Always use clean and sterilized equipment to prevent contamination.
- Measure ingredients accurately to achieve the correct consistency and stability.
- Monitor the temperature closely when heating the oil and water phases to ensure a stable emulsion.
- Use a preservative to prevent the growth of bacteria, mold, and yeast in your lotion.
Common Mistakes to Avoid:
- Not using a preservative or using an insufficient amount, which can lead to spoilage.
- Adding essential oils or fragrance oils while the lotion is still hot, which can cause the scent to evaporate or change.
- Insufficient mixing during the emulsification process, leading to separation or an unstable lotion.
Customizing Your Lotion
Customizing your homemade lotion allows you to create a unique formulation that caters to your specific needs and preferences. Here are some ways to personalize your lotion:
Adding fragrance or essential oils
Incorporate your favorite scents by adding a few drops of essential oils or fragrance oils once the lotion has cooled. Be cautious when using essential oils, as they can be potent and may cause irritation if used in high concentrations.
Start with a small amount and adjust according to your preference.
Adjusting texture and thickness
The texture of your lotion can be altered by varying the proportions of oils, emulsifying wax, and water. For a thicker, more luxurious lotion, increase the amounts of carrier oils and/or butter.
For a lighter, more fluid lotion, reduce the oil content and increase the water phase. Experiment with different ratios to find the perfect consistency for your needs.
Creating a personalized lotion formulation
You can further customize your lotion by incorporating additional ingredients that target specific skin concerns or provide added benefits. Some options include:
- Aloe vera gel: Known for its soothing and hydrating properties, aloe vera gel can be added to the water phase for extra moisturization.
- Botanical extracts: Add herbal extracts such as chamomile, green tea, or calendula to enhance the lotion’s benefits.
- Vitamins and antioxidants: Include ingredients like vitamin E, vitamin C, or niacinamide to nourish and protect the skin.
- Exfoliants: Incorporate gentle exfoliants like fruit enzymes or lactic acid for smoother, brighter skin.
- Skin condition-specific ingredients: Depending on your skin concerns, you may want to add ingredients like hyaluronic acid for hydration, tea tree oil for acne-prone skin, or arnica for soothing inflammation.
Storing and Using Your Homemade Lotion
Proper storage and usage of your homemade lotion are crucial to ensure its effectiveness and longevity. Follow these guidelines to get the most out of your DIY skincare creation:
Proper storage techniques
Store your homemade lotion in a cool, dark place, away from direct sunlight and heat sources. Exposure to light and heat can cause the lotion to spoil or lose its effectiveness.
Use clean, sterilized containers with airtight lids to prevent contamination and maintain freshness. Glass containers are preferable, as they don’t react with the lotion’s ingredients.
Shelf life of homemade lotion
The shelf life of your homemade lotion will depend on the ingredients used and the presence of a preservative. Generally, lotions made with a proper preservative can last up to six months or longer.
However, if you choose not to use a preservative or opt for a natural alternative, the shelf life may be significantly shorter – around one month or less.
To prolong the shelf life, store the lotion in the refrigerator and always use clean hands or a spatula when scooping the lotion out of the container.
Tips for applying lotion effectively
For best results, apply your homemade lotion to clean, slightly damp skin to help lock in moisture. This is especially beneficial after a shower or bath when your skin is more receptive to hydration.
Use gentle, circular motions to massage the lotion into your skin, allowing it to fully absorb before getting dressed or applying other products.
Conclusion
With the right equipment, ingredients, and instructions, you can create a luxurious lotion that rivals store-bought brands. Remember to use proper storage techniques and always apply the lotion to clean skin for best results.
With a little practice, you’ll be able to create a wide range of homemade skincare products to keep your skin looking and feeling its best.

