How to Make Your Own Furniture Polish: A Step-by-Step Guide to Making Your Own All-Natural Solution
When it comes to caring for your furniture, using a high-quality polish is essential to maintain its shine and keep it looking its best. However, many commercial furniture polishes contain harsh chemicals that can be harmful to both the environment and your health.
The good news is that making your own furniture polish is an easy and cost-effective solution that benefits both you and the planet.
So, in today’s blog post, we’ll show you step-by-step how to make your own all-natural furniture polish using simple ingredients that you probably already have in your pantry. Let’s get started!
How to Make Your Own Furniture Polish: A Step-by-Step Guide to Making Your Own All-Natural Solution
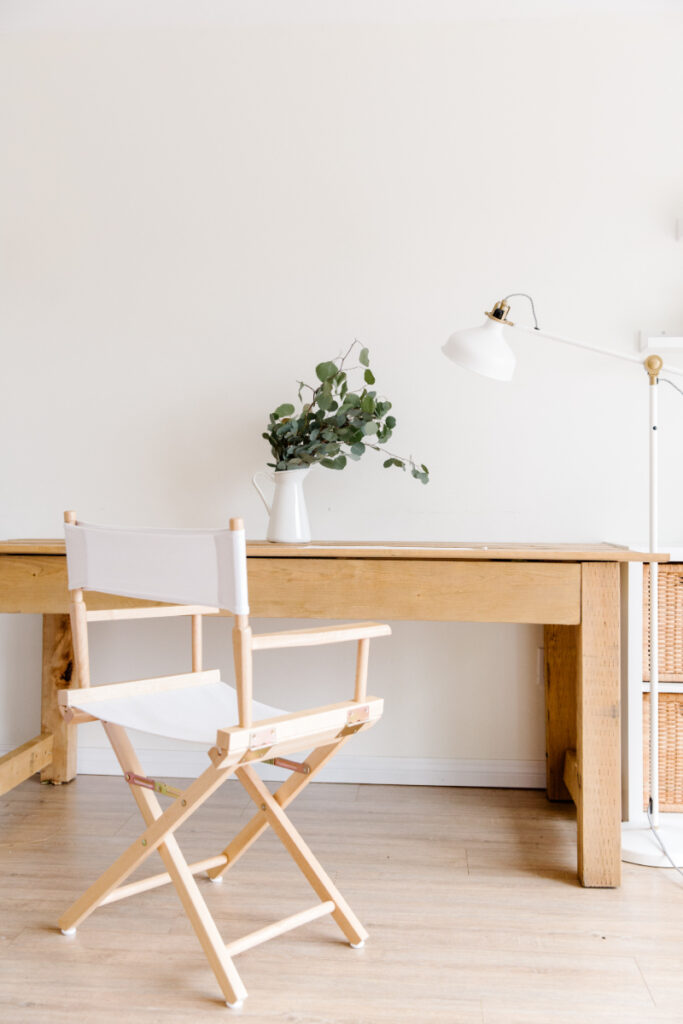
Gather Your Ingredients
To make your own all-natural furniture polish, you’ll need just a few basic ingredients that are easily accessible and affordable.
Here’s the list of ingredients you’ll need:
- White vinegar (1/2 cup): A natural cleaning agent that helps remove dirt, grime, and grease.
- Olive oil (1/4 cup): Acts as a conditioner for the wood, giving it a beautiful shine and preventing it from drying out.
- Lemon juice (1 tablespoon): Adds a fresh scent and works as a natural antibacterial agent. You could also use a few drops of lemon essential oil as an alternative.
- Distilled water (1/4 cup): Dilutes the mixture and ensures even coverage when applied to the furniture.
When selecting your ingredients, consider choosing high-quality, organic options if possible. This will ensure that your homemade furniture polish is free from any pesticides or other harmful chemicals.
Additionally, using cold-pressed olive oil is preferable, as it retains more of its beneficial properties.
Prepare Your Work Area
Before you begin making your homemade furniture polish, it’s essential to prepare your work area to ensure a smooth and efficient process. Follow these tips to create a clean and organized workspace:
- Clear your countertops or table: Make sure you have ample space to work by clearing off any unnecessary items from the area where you’ll be mixing your ingredients.
- Gather your tools and equipment: You’ll need a few basic tools to make your furniture polish, including a mixing bowl, a whisk or spoon for stirring, a measuring cup and spoons for accurate measurements, and a funnel. You’ll also need a spray bottle or airtight container to store your finished polish.
- Cover your work surface: Lay down some newspaper or a plastic tablecloth to protect your work surface from any spills or drips while mixing your ingredients.
- Keep a trash bag or bin nearby: This will help you quickly dispose of any waste, such as used paper towels or empty ingredient containers, keeping your workspace clean and clutter-free.
- Wash your hands: Before handling any ingredients, make sure your hands are clean to avoid introducing any contaminants into your homemade polish.
By taking the time to set up a tidy and organized work area, you’ll be able to focus on creating your all-natural furniture polish without any distractions or interruptions.
Mix the Ingredients
Now that your work area is prepared, it’s time to mix your ingredients to create your homemade furniture polish.
Follow these step-by-step instructions for a smooth and well-blended mixture:
- Measure the ingredients: Using a measuring cup and spoons, carefully measure out the white vinegar, olive oil, lemon juice (or essential oil), and distilled water according to the quantities listed in the “Gather Your Ingredients” section.
- Combine the liquids: Pour the white vinegar, olive oil, lemon juice, and distilled water into a mixing bowl.
- Mix thoroughly: Using a whisk or spoon, stir the ingredients together until they are well combined. The mixture may separate slightly due to the different densities of oil and vinegar, but this is normal.
- Adjust the recipe (optional): If you prefer a stronger scent or a more potent cleaning solution, you can adjust the amount of lemon juice or essential oil added. You can also experiment with different essential oils like lavender or orange for a unique fragrance.
- Transfer to a storage container: Using a funnel, carefully pour your mixture into a clean spray bottle or airtight container. Be sure to label the container with the contents and date of creation for easy identification later.
Your homemade furniture polish is now ready to use! Remember to shake the container well before each use, as the ingredients may separate over time.
Apply the Polish
Applying your homemade furniture polish is a simple process that can help bring out your wood furniture’s natural beauty while protecting it.
Follow these tips for the best results:
- Test the polish on a small area: Before applying the polish to your entire piece of furniture, test it on an inconspicuous spot, such as the underside or back of the item. This will allow you to see how the polish reacts with the wood and ensure it doesn’t cause any damage or discoloration.
- Clean the furniture first: To achieve the best results, make sure your furniture is free from dust and dirt before applying the polish. Use a soft cloth or duster to remove any surface debris.
- Shake the container well: As mentioned earlier, the ingredients in your homemade polish may separate over time. Give the container a good shake before each use to ensure the mixture is well combined.
- Apply the polish: Spray a small amount of the polish onto a soft, lint-free cloth. If you’re using a non-spray container, simply dip the cloth into the polish and wring out any excess liquid.
- Work in sections: Starting at one end of the furniture, gently rub the polish into the wood using circular motions. Work in small sections to ensure even coverage and prevent the polish from drying out before it’s been properly absorbed.
- Buff and shine: After applying the polish to the entire piece of furniture, use a clean, dry cloth to buff the surface and bring out the natural shine of the wood. Again, use circular motions for the best results.
Store the Polish Properly
To ensure your homemade furniture polish remains effective and maintains its quality, proper storage is essential. Follow these guidelines for the best results:
- Choose an appropriate container: Use a clean, airtight container, such as a spray bottle or glass jar with a tight-fitting lid. This will help prevent any contaminants from entering the polish and will keep it fresh for longer.
- Keep away from direct sunlight: Store your furniture polish in a cool, dark place away from direct sunlight, as exposure to light can cause the ingredients to break down or become less effective over time.
- Label the container: Clearly label your container with the contents (“Furniture Polish”) and the date it was made. This will help you keep track of how long the polish has been stored and when it’s time to make a new batch.
- Shake before use: As mentioned earlier, the ingredients in your homemade furniture polish may separate over time. Give the container a good shake before each use to ensure the mixture is well combined and ready for application.
- Make fresh batches regularly: Although homemade furniture polish has a fairly long shelf life, it’s a good idea to make a fresh batch every few months to ensure optimal performance. Dispose of any unused polish after 6-12 months, as the ingredients may begin to lose their effectiveness over time.
By storing your homemade furniture polish properly, you can ensure that it remains effective and safe to use on your wood furniture, helping to keep it looking beautiful and well-maintained.
Conclusion
Making your own furniture polish is not only an easy and cost-effective way to care for your wood furniture, but it’s also an eco-friendly and chemical-free alternative to commercial products.
With just a few simple ingredients that you probably already have in your pantry, you can create an all-natural solution that will help protect and beautify your furniture.
By following our step-by-step guide, you’ll be able to create your own DIY furniture polish that’s safe, effective, and customizable to suit your personal preferences.
So why not give it a try and enjoy the many benefits of natural furniture care!

