Revolutionize Your Garden with a 55-Gallon DIY Compost Tumbler
Composting is a great way to recycle organic waste from your kitchen and garden, turning it into a nutrient-rich soil conditioner that your plants will love. However, traditional compost piles can take up a lot of space and require significant effort to turn and aerate.
This is where a compost tumbler comes in handy. A compost tumbler is a fully sealed container that can be rotated to mix the composting materials inside. It accelerates the composting process, prevents pests, and is more manageable than a compost pile.
A 55-gallon DIY compost tumbler can be a cost-effective and rewarding project. Not only will it help you create your own compost, but it will also provide an eco-friendly solution for managing household waste.
This guide will walk you through the process of building your own compost tumbler using a 55-gallon barrel, making composting at home easier than ever.
55 Gallon DIY Compost Tumbler: A Step-by-Step Guide
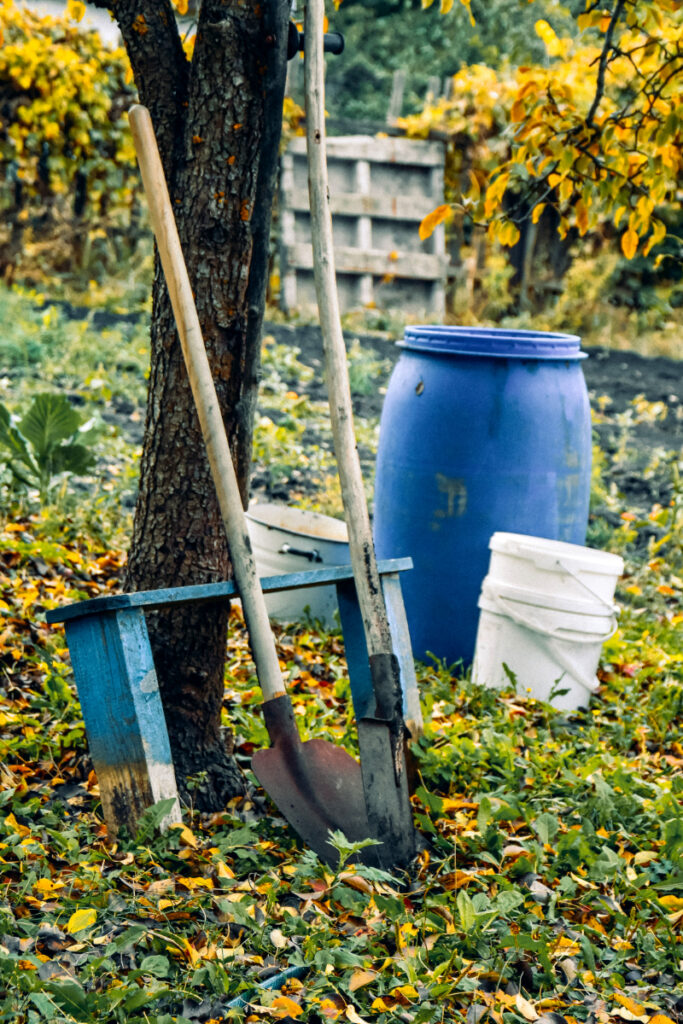
Materials Needed
Before we start building the compost tumbler, we need to gather all the necessary materials. Here’s a detailed list of what you’ll need:
55-Gallon Drum
This will serve as the primary component of your compost tumbler. Make sure it’s made of food-grade plastic and has never been used to store toxic substances.
PVC Pipe
A piece of PVC pipe will act as the axle around which the drum rotates. It should be long enough to go through the drum and extend a bit on both sides.
Metal Rods
These are for supporting the drum on the stand. The rods should be sturdy enough to support the weight of the full drum.
Wooden Boards
You’ll need these to construct the stand that will hold your compost tumbler. Choose weather-resistant wood like cedar or redwood.
Door Hardware
This includes hinges, handles, and latches for creating an access door in the drum where you can add compost material and remove finished compost.
Drill with Hole Saw Attachment
For creating ventilation holes in the drum and an opening for the PVC pipe.
Screws and Nuts
To secure all components together. Use weather-resistant screws to ensure durability.
Saw
To cut the wooden boards and PVC pipe to size.
Measuring Tape and Marker
For measuring and marking cuts and drill holes accurately.
Safety Gear
Don’t forget safety glasses, gloves, and a dust mask to protect yourself during construction.
Choosing the Right Barrel
Your 55-gallon barrel is the heart of your DIY compost tumbler, so it’s crucial to choose wisely. Here are some tips to help you select the right barrel:
Criteria for Selecting a 55 Gallon Barrel
- Material: Choose a barrel made of food-grade plastic. This ensures that no harmful chemicals will leach into your compost. Avoid barrels that have been used to store toxic substances.
- Color: Dark-colored barrels are ideal because they absorb more heat from the sun, which can speed up the composting process.
- Lid: Opt for a barrel with a secure, removable lid. This will make it easier to add and remove compost materials.
Preparing the Barrel for Use
Once you’ve chosen your barrel, you’ll need to prepare it for use.
- Cleaning: Start by thoroughly cleaning the barrel. Use a mild detergent and warm water to scrub the inside and outside. Rinely thoroughly to ensure no soap residue remains.
- Drying: Allow the barrel to dry completely before proceeding. This can prevent issues with mold and mildew.
- Marking: Use your marker to outline where you will cut the access door and drill ventilation holes. The door should be large enough to comfortably add materials and remove compost, but not so big that it compromises the structural integrity of the barrel.
Remember, the goal of this project is to create a composting system that’s efficient, durable, and safe for your garden. So take your time in choosing and preparing your barrel.
Building the Compost Tumbler
Now that you have your materials and your barrel is ready, let’s start building your DIY compost tumbler.
Step-by-Step Instructions
- Cutting the Access Door: Using your marked outline as a guide, cut out the access door with a saw. Make sure to leave one side intact to act as a hinge.
- Installing Door Hardware: Attach a handle to the door for easy opening and closing. Install a latch on the other side to keep the door securely closed when the tumbler is in use.
- Drilling Ventilation Holes: Drill several holes throughout the barrel to provide ventilation. These holes should be small enough to provide airflow but not so large that compost material can fall out.
- Creating the Axle: Drill a hole on each side of the barrel at the same height for the PVC pipe to go through. Insert the pipe, ensuring it extends equally on both sides.
- Building the Stand: Construct a sturdy stand using your wooden boards. It should be high enough to allow the barrel to spin freely. Secure the stand with screws for stability.
- Mounting the Barrel: Place the barrel on the stand, threading the metal rods through the stand and the PVC pipe. Make sure the barrel rotates smoothly.
- Sealing the Barrel: Finally, secure the lid onto the barrel. If the lid is not a tight fit, you may wish to use additional latches or a bungee cord to keep it secured.
Safety Precautions During Construction
Safety should always be a priority when working on DIY projects. Here are some precautions to keep in mind:
- Always wear safety gear, including gloves and safety glasses.
- Use tools properly and follow manufacturer instructions.
- Ensure your work area is well-ventilated, especially when cutting or drilling plastic.
- Keep children and pets away from the work area.
Congratulations! You’ve built your own 55-gallon compost tumbler. The next step is learning how to use it effectively.
Using Your Compost Tumbler
Once your DIY compost tumbler is set up, it’s time to put it to good use. Here are some tips on how to add compost materials and create ideal conditions for composting.
How to Add Compost Materials
- Balance Green and Brown Materials: For effective composting, you need a good balance of green (nitrogen-rich) and brown (carbon-rich) materials. Green materials include vegetable scraps, coffee grounds, and fresh grass clippings, while brown materials include dried leaves, straw, and shredded newspaper. A general rule of thumb is to aim for a ratio of 1:3 green to brown materials.
- Chop or Shred Larger Items: To speed up the composting process, chop or shred larger items into smaller pieces before adding them to the tumbler.
- Fill the Tumbler: Don’t overfill your compost tumbler. It needs space to allow the materials to mix properly when you turn it. Aim to fill it about two-thirds full.
- Turn Regularly: Rotate your compost tumbler regularly to mix the materials and provide aeration. Turning it every few days is usually sufficient.
Ideal Conditions for Composting
Creating the right conditions can help speed up the composting process.
- Temperature: Composting is a heat-generating process. Your compost tumbler should ideally be placed in a location that receives a good amount of sunlight to help maintain warmth.
- Moisture: Your compost should have the dampness of a wrung-out sponge. If it’s too dry, you can add a bit of water. If it’s too wet, add more brown materials to absorb excess moisture.
- Aeration: The ventilation holes you drilled in the barrel and the regular turning of the tumbler provide necessary aeration. This helps speed up the decomposition process and prevents foul odors.
Maintenance and Troubleshooting
To keep your DIY compost tumbler working effectively, regular maintenance is essential. Additionally, it’s helpful to know how to troubleshoot common issues that might arise.
Regular Maintenance Tips
- Cleaning: Rinse out your compost tumbler between batches to keep it clean and prevent any unwanted smells or pests.
- Inspection: Regularly inspect your compost tumbler to ensure there are no cracks or damage. Check the stand for stability and make sure the barrel rotates smoothly.
- Lubrication: Occasionally, you might need to lubricate the axle (PVC pipe) to ensure smooth rotation. A little vegetable oil can do the trick.
Common Issues and Solutions
Even with careful use and maintenance, you might encounter some issues with your compost tumbler. Here are solutions to common problems:
- Unpleasant Smell: If your compost tumbler starts to smell bad, it could be due to insufficient aeration or an imbalance in green and brown materials. Make sure you’re turning your tumbler regularly and adjust your green to brown ratio, adding more brown materials if needed.
- Slow Composting: If the composting process seems slow, it may be because the compost is too dry, lacks nitrogen-rich green materials, or the pieces are too large. Try adding water, more green materials, or chopping up larger pieces.
- Pests: If you notice pests around your compost tumbler, make sure the lid and access door are securely closed. Also, avoid composting meat, dairy, or cooked food scraps as they can attract pests.
Benefits of Using a Compost Tumbler
Now that you’ve built and learned how to use your 55-gallon compost tumbler, let’s explore some of the benefits of this wonderful garden tool.
Speeds Up Composting Process
One of the primary advantages of a compost tumbler is it speeds up the composting process. Because the tumbler allows for easy turning and aeration, it can produce compost in a matter of weeks instead of months.
Convenient and Easy to Use
A compost tumbler is easy to load, turn, and unload, making it more convenient than traditional compost piles or bins.
Keeps Pests Away
A sealed compost tumbler keeps pests like rats, raccoons, and flies away from your compost.
Reduces Household Waste
By composting your kitchen scraps and yard waste, you can significantly reduce the amount of waste you send to the landfill.
Produces High-Quality Compost
Compost from a tumbler is often more uniform and fine, which is excellent for plant health and soil improvement.
Saves Money
Making your own compost with a tumbler can save you money on garden soil amendments. Plus, with a DIY compost tumbler, you save on the cost of buying a commercially made one.
Educational for Kids
If you have children, a compost tumbler can be an excellent educational tool. It’s a practical way to teach them about recycling, sustainability, and the circle of life.
Frequently Asked Questions
To wrap things up, let’s address some frequently asked questions about compost tumblers.
What can I put in my compost tumbler?
You can put a variety of organic materials in your compost tumbler. This includes green materials like vegetable scraps, coffee grounds, and fresh grass clippings, as well as brown materials like dried leaves, straw, and shredded newspaper. Avoid adding meat, dairy, or diseased plants as they can attract pests or create unpleasant odors.
How often should I turn my compost tumbler?
Generally, you should aim to turn your compost tumbler every few days. Regular turning helps aerate the compost and speeds up the decomposition process.
Why does my compost tumbler smell bad?
A foul smell could indicate that your compost is too wet or there’s an imbalance of green and brown materials. Try adding more brown materials and make sure your tumbler isn’t too full, which could restrict airflow.
How long does it take to make compost in a tumbler?
The time it takes to make compost can vary depending on several factors, including the types of materials you’re composting, the balance of green and brown materials, and the outdoor temperature. However, with regular turning and proper maintenance, a compost tumbler can produce compost in as little as a few weeks.
Can I compost during winter?
Yes, you can continue to add materials to your compost tumbler during winter. However, the composting process slows down in colder temperatures, so don’t expect to have finished compost until the weather warms up.
Conclusion
Building and using a 55-gallon compost tumbler is an excellent way to recycle kitchen scraps and yard waste into nutrient-rich compost for your garden. It’s a project that not only benefits your plants but also contributes positively to the environment by reducing waste that would otherwise end up in a landfill.
However, like any DIY project, it requires some effort and patience. From selecting the right barrel and building the tumbler to maintaining it and troubleshooting issues, each step is a learning experience. But the satisfaction of creating your own composting system and producing homemade compost makes it all worthwhile.
Remember, composting is more of an art than a science. It may take some trial and error to get the balance right. Don’t be disheartened if your first batch of compost isn’t perfect. With time, you’ll learn to adjust the green and brown materials, moisture, and aeration to create ideal conditions for composting.


