Quick and Easy Home Composting: How to Make Compost Fast
Composting is a simple and effective way to reduce waste and create nutrient-rich soil for plants and gardens. However, traditional composting can take several months to produce usable compost.
Fortunately, there are ways to speed up the composting process and create rich compost in just a few weeks. In this guide, we will explore different methods for fast composting and provide tips for setting up your compost bin, choosing the right ingredients, troubleshooting common problems and using your compost in your garden or yard.
Whether you’re an experienced gardener or just starting out, this guide will help you create high-quality compost quickly and easily, while reducing your environmental impact.
Quick and Easy Composting: How to Make Compost at Home Fast

Choosing a Composting Method for Speed
When it comes to fast composting, selecting the right method is crucial. Traditional composting can take months to produce finished compost, but by choosing a faster method, you can significantly reduce this time.
Each of these methods has its advantages and drawbacks, so choose the one that best fits your needs, available space, and the materials you have on hand.
Let’s explore some popular methods for fast composting:
Hot Composting
Also known as thermophilic composting, this method relies on high temperatures to speed up the decomposition process.
By maintaining a temperature between 130°F and 160°F (54°C and 71°C), hot composting can produce usable compost in just a few weeks.
To achieve these temperatures, create a large pile of at least 3 feet by 3 feet by 3 feet (1 cubic meter) and turn it regularly to maintain aeration.
Tumbler Composting
Compost tumblers are specially designed containers that allow you to easily turn and aerate your compost. The enclosed design helps maintain heat and moisture levels, which accelerates decomposition.
By turning the tumbler regularly, you can produce compost in as little as 2-4 weeks.
Bokashi Composting
This Japanese method uses anaerobic fermentation to break down organic materials quickly. By adding bokashi bran (a mixture of microorganisms) to your kitchen scraps in an airtight container, you can create pre-compost in just 2 weeks.
After that, you’ll need to bury the pre-compost in your garden or combine it with other composting methods to finish the process.
Vermicomposting
Also known as worm composting, this method involves using red wiggler worms to break down organic matter. Worms can consume and process food scraps rapidly, producing nutrient-rich castings that can be used as compost.
Vermicomposting typically takes 2-3 months but is faster than traditional composting methods.
Ingredients for Fast Composting
To achieve fast composting, it’s essential to use the right mix of ingredients to break down quickly and provide the necessary nutrients for microorganisms to thrive. Here are the key components you’ll need for successful fast composting:
Nitrogen-rich materials (greens)
These materials are high in nitrogen and provide the necessary proteins for the microorganisms responsible for decomposition. Examples of nitrogen-rich materials include:
- Grass clippings
- Vegetable scraps
- Coffee grounds
- Fruit peels
- Fresh leaves
- Manure from herbivores (e.g., cows, horses, chickens)
Carbon-rich materials (browns)
These materials are high in carbon and provide energy for microorganisms. Examples of carbon-rich materials include:
- Dry leaves
- Straw or hay
- Wood chips or sawdust
- Shredded paper or cardboard
- Small branches and twigs
- Eggshells (crushed)
Maintaining a balance between nitrogen-rich and carbon-rich materials in your compost pile is crucial. A good rule of thumb is to aim for a 3:1 ratio of browns to greens by volume. This balance ensures that your compost pile has enough nitrogen to support microbial growth while providing sufficient carbon to prevent foul odors and excessive moisture.
Additionally, chop or shred your materials into smaller pieces to speed up decomposition. The smaller the pieces, the more surface area there is for microbes to break them down.
Finally, avoid adding materials that can slow down the composting process or introduce harmful substances, such as:
- Meat, fish, or dairy products
- Fats or oils
- Diseased plant material
- Treated wood
- Synthetic chemicals or pesticides
Using the right ingredients mix and maintaining a proper balance between nitrogen-rich and carbon-rich materials’ll create a thriving environment for microorganisms to decompose organic matter quickly and efficiently.
Setting Up Your Compost Bin for Speed
To ensure fast composting, setting up your compost bin properly is important. Here are some tips to help you create the ideal environment for rapid decomposition:
Choose the right location
Select a spot in your yard or garden that is flat, well-draining, and easily accessible. Ideally, the location should receive a mix of sun and shade throughout the day to maintain optimal temperature and moisture levels.
Select the appropriate container
Depending on the composting method you’ve chosen, you’ll need a suitable container. For hot composting, use an open pile or a wire mesh enclosure. For tumbler composting, purchase a dedicated compost tumbler.
For vermicomposting, use a worm bin or create a DIY worm bin using plastic storage containers.
Aerate your compost
Proper aeration is essential for fast composting, as it provides oxygen to the microorganisms responsible for decomposition. For hot composting, turn the pile regularly (every 3-7 days) with a pitchfork or shovel.
For tumbler composting, rotate the tumbler every 1-2 days. Add bedding materials like shredded paper or coconut coir to maintain airflow within the worm bin for vermicomposting.
Maintain optimal moisture levels
Your compost pile should have the consistency of a wrung-out sponge, which helps promote microbial activity.
Add water or more green materials if your compost pile is too dry. If it’s too wet, add more brown materials or turn the pile more frequently to increase aeration.
Monitor temperature
For hot composting, maintaining a temperature between 130°F and 160°F (54°C and 71°C) will accelerate the decomposition process. Use a compost thermometer to monitor the temperature of your pile, and turn it regularly to ensure even heating.
Layer your materials
When starting your compost pile, alternate layers of green and brown materials to maintain a balanced carbon-to-nitrogen ratio. Begin with a layer of coarse materials like twigs or straw at the bottom to promote airflow, followed by alternating layers of greens and browns.
Composting Process
The composting process involves decomposing organic materials by microorganisms into nutrient-rich humus. To create compost quickly and efficiently, follow these step-by-step instructions:
Build the foundation
Start your compost pile with a layer of coarse materials like twigs or straw to promote airflow at the bottom. This layer should be about 4-6 inches (10-15 cm) thick.
Add alternating layers
Begin adding green (nitrogen-rich) and brown (carbon-rich) materials in alternating layers. Each layer should be 2-4 inches (5-10 cm) thick. Remember to maintain a 3:1 ratio of browns to greens by volume for optimal decomposition.
Water your pile
Keep your compost pile moist, but not soggy. The moisture level should resemble that of a wrung-out sponge. If the pile is too dry, add water or more green materials. If it’s too wet, add more brown materials or turn the pile more frequently.
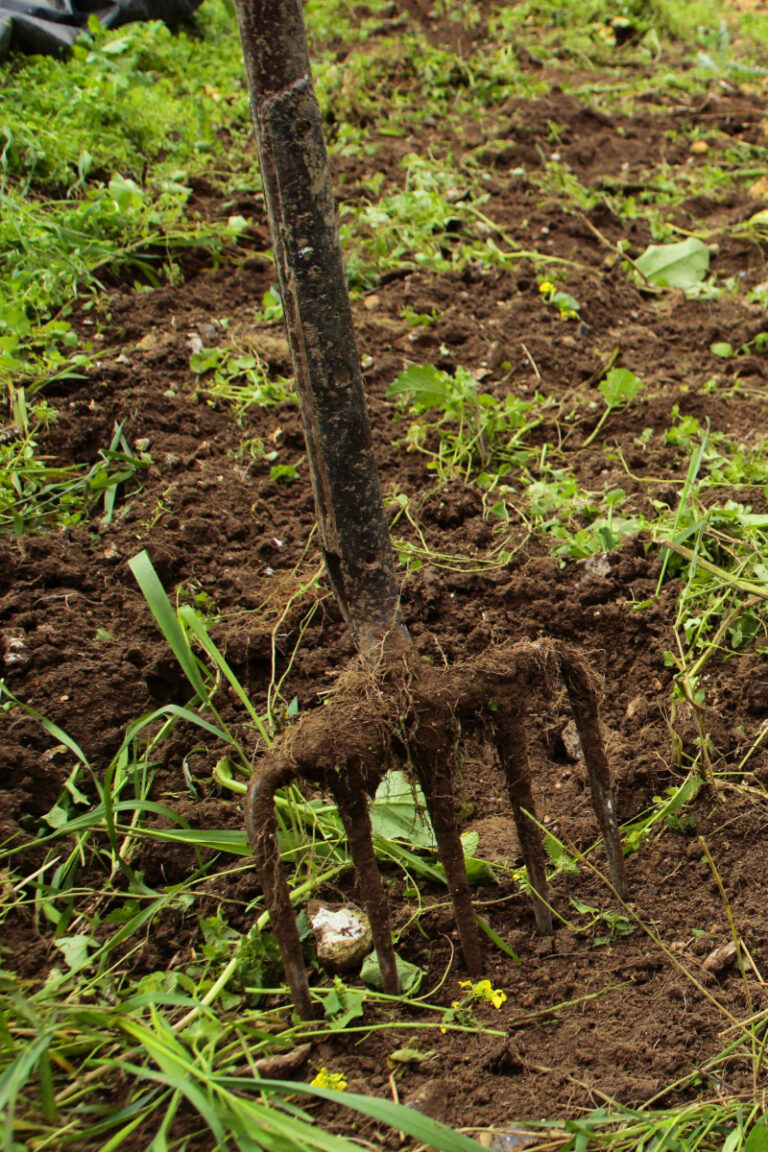
Turn the pile
For hot composting, turn your compost pile every 3-7 days using a pitchfork or shovel. This helps maintain aeration and ensure even heating.
For tumbler composting, rotate the tumbler every 1-2 days. Turning the compost promotes oxygen flow, which is essential for microbial activity and fast decomposition.
Monitor temperature
Use a compost thermometer to track the temperature of your pile. For hot composting, aim for temperatures between 130°F and 160°F (54°C and 71°C). If the temperature drops, turn the pile or add more green materials to reignite the heat.
Check for progress
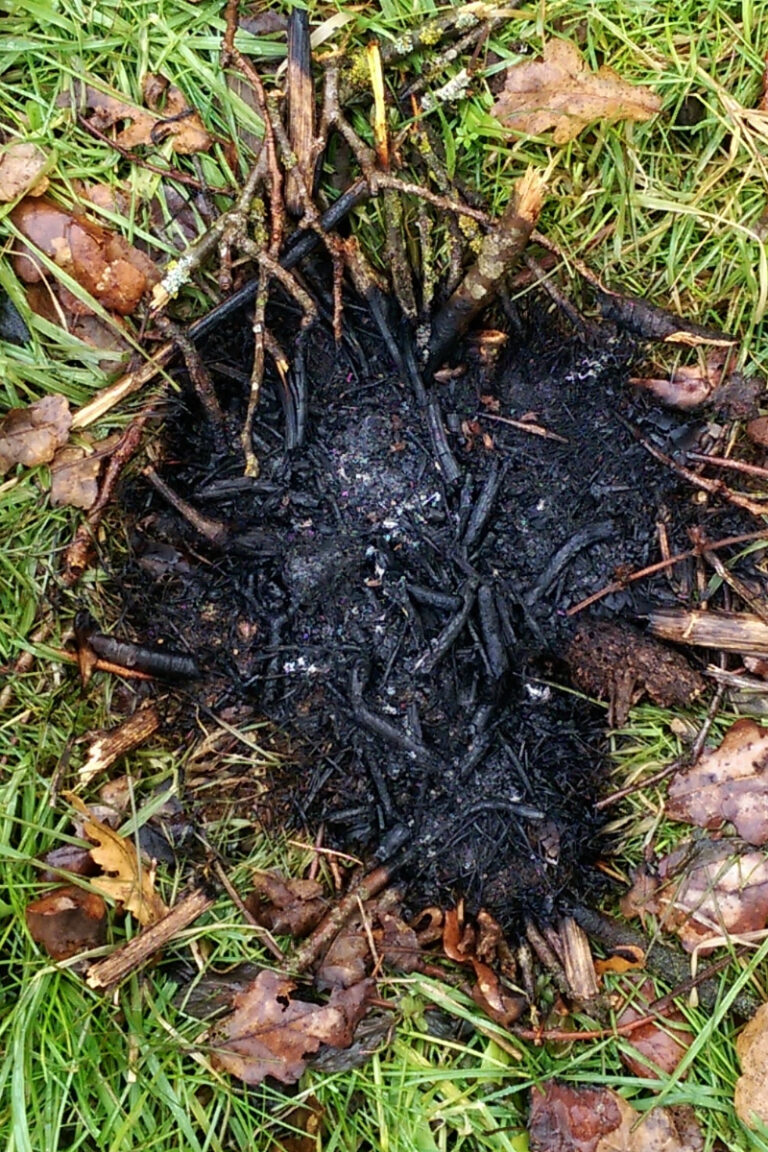
As the composting process continues, you should notice the volume of your pile decreasing and the materials becoming darker and more crumbly. This is a sign that the compost is nearing completion.
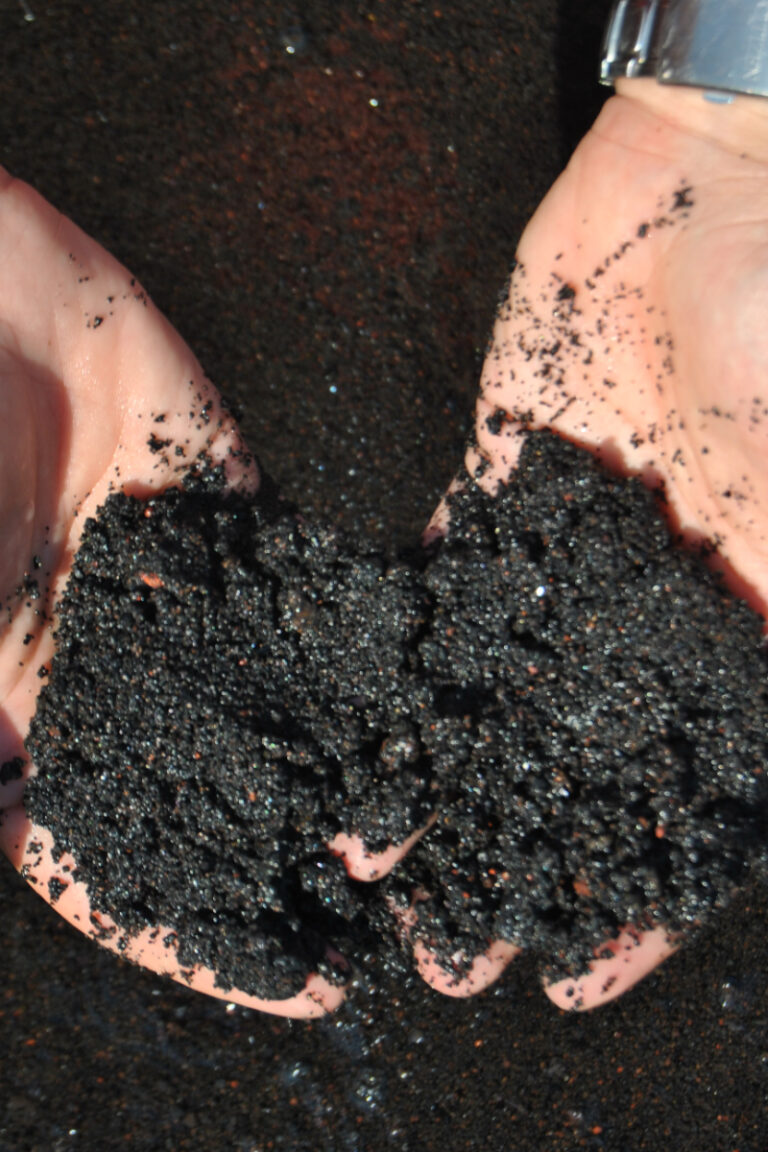
Finished compost
When your compost is ready, it should have a dark, earthy appearance and a pleasant, earthy smell. Depending on the method used, this can take anywhere from 2 weeks to 3 months.
Once finished, let the compost cure for 1-2 weeks before using it in your garden or yard.
Common Problems
During the composting process, you may encounter some common problems that can hinder decomposition or cause unpleasant odors. Here are a few issues and their solutions:
Foul smell
A strong, unpleasant odor usually indicates that your compost pile is too wet or has an imbalance of materials.
To fix this issue, add more brown (carbon-rich) materials, turn the pile more frequently to increase aeration, or check the drainage at the bottom of your bin.
Slow decomposition
If your compost pile isn’t breaking down as quickly as expected, it could be due to a lack of nitrogen, insufficient moisture, or inadequate aeration.
To speed up the process, add more green materials, ensure the pile is moist but not soggy, and turn the pile regularly to promote airflow.
Pests
Flies, rodents, or other pests can be attracted to your compost pile if you’re adding inappropriate materials or not maintaining proper conditions.
Avoid adding meat, fish, dairy products, oils, or fats to your pile, and make sure the pile stays moist and aerated.
Uneven composting
If some parts of your pile are decomposing faster than others, this could be due to uneven moisture or aeration.
To fix this, turn the pile more frequently, ensuring all materials are mixed evenly. Check the moisture levels and adjust as needed.
Too much heat
Although heat is essential for fast composting, temperatures above 160°F (71°C) can kill beneficial microorganisms and slow down the process.
If your pile is overheating, turn it more frequently to release excess heat and introduce more oxygen.
Harvesting and Using Your Compost
By harvesting and using your compost wisely, you’ll provide essential nutrients and organic matter to your plants, supporting healthy growth and improving the overall health of your garden or yard. Not only will you be reducing waste, but you’ll also be creating a thriving, sustainable environment for your plants to grow.
Here’s how to determine when your compost is ready and some ideas for using it:
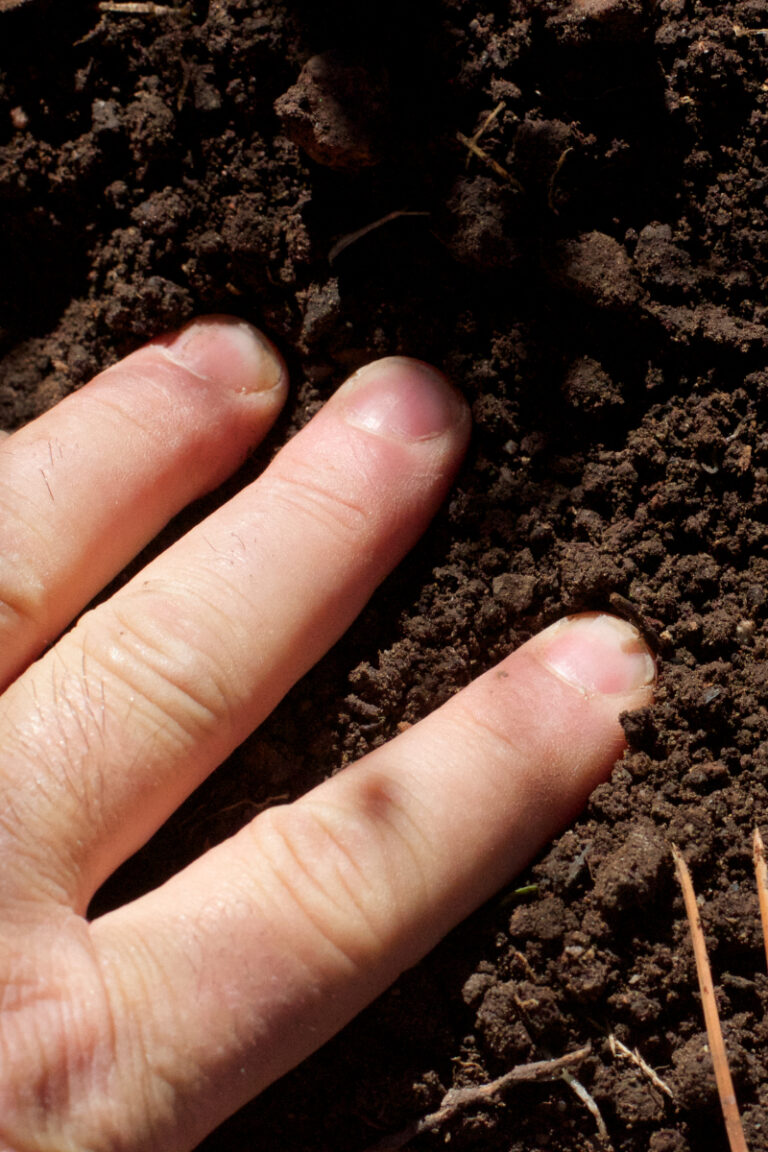
Determining compost readiness
Finished compost should have a dark, crumbly texture and an earthy smell. It should no longer resemble the original ingredients and should not have large chunks of undecomposed materials.
Depending on the composting method you’ve chosen, this can take anywhere from 2 weeks to 3 months.
Curing the compost
Before using your compost, allow it to cure for 1-2 weeks. This helps stabilize the nutrients and ensures that any remaining decomposition is complete.
To cure your compost, set it aside in a separate pile or container, keeping it moist but not wet.
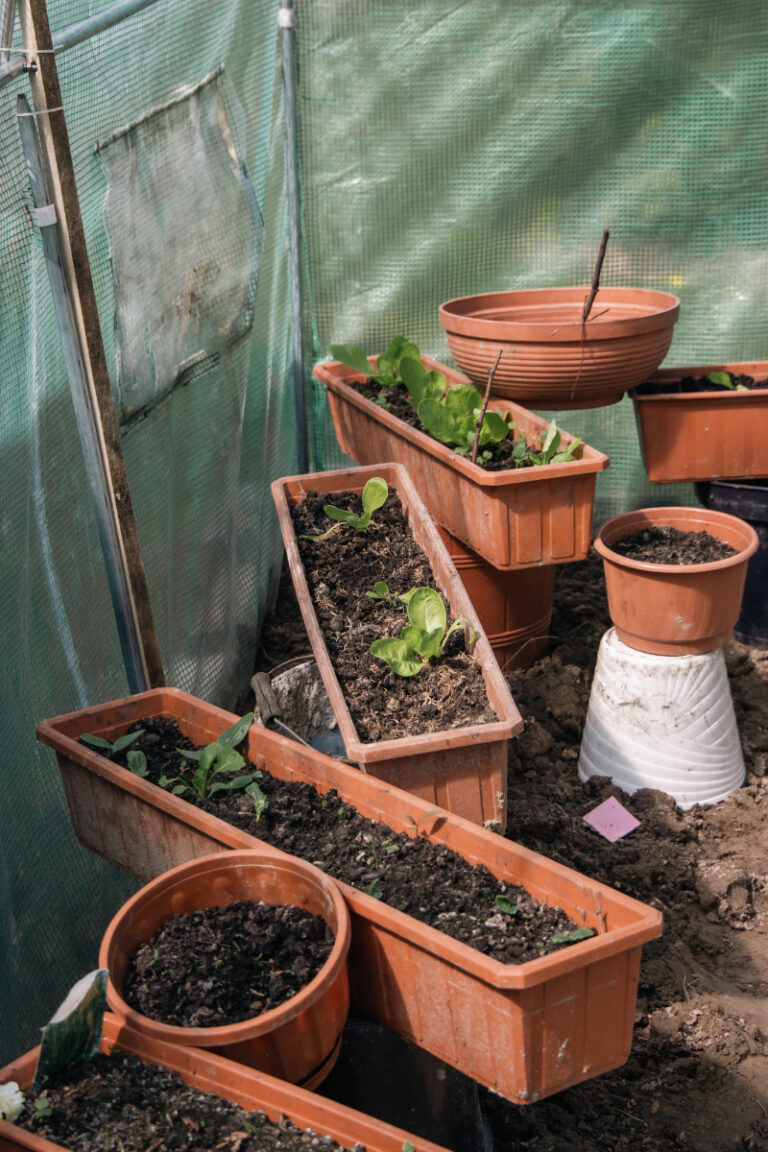
Garden and plant application
Compost can be used in various ways to enrich your garden and support healthy plant growth. Some popular uses include:
- Mixing compost into garden beds or borders to improve soil fertility and structure
- Using compost as a top dressing around established plants to provide a slow-release source of nutrients
- Incorporating compost into potting mixes for container gardening
- Spreading a layer of compost over your lawn to improve soil health and encourage strong root growth
Creating compost tea
Compost tea is a nutrient-rich liquid fertilizer made by steeping compost in water.
To make compost tea, add a few handfuls of compost to a bucket of water, let it steep for 24-48 hours, then strain the liquid and use it to water your plants.
Conclusion
Composting is a great way to reduce waste, create nutrient-rich soil, and support healthy plant growth. While traditional composting can take several months to produce usable compost, there are methods for speeding up the process and creating high-quality compost in just a few weeks.
Once your compost is ready, use it in your garden or yard to provide essential nutrients and organic matter for healthy plant growth. With a little bit of effort and patience, you can reduce waste while creating a more sustainable environment for your plants to flourish.