How to Make Pickles at Home: A Step-by-Step Guide
Pickles are a delicious and healthy snack that you can easily make at home. Making your own pickles allows you to control the ingredients and experiment with different flavors. In this step-by-step guide, we’ll show you how to make pickles at home in seven easy steps.
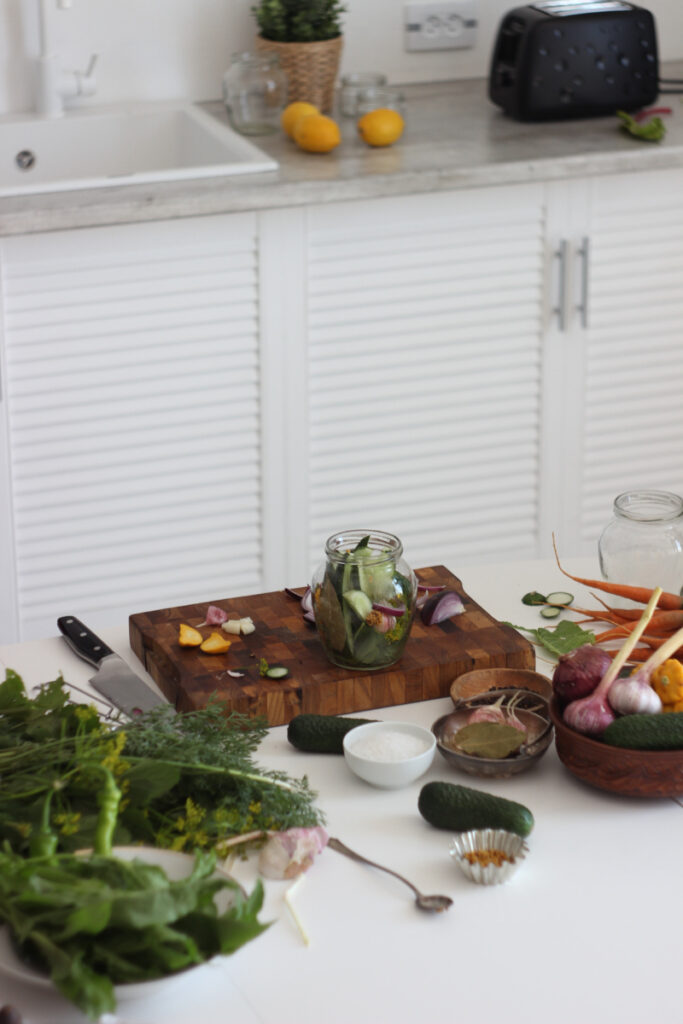
Step 1: Choose Your Cucumbers
The first step in making delicious homemade pickles is selecting the right cucumbers or using your own homegrown. To ensure a crunchy and flavorful final product, it’s essential to choose firm, fresh, and small cucumbers that are no more than 4 inches long. These cucumbers, often referred to as pickling cucumbers or kirby cucumbers, have thinner skins and fewer seeds, making them ideal for pickling.
When shopping for cucumbers, look for ones that are uniformly green and free from any yellowing or soft spots. Additionally, check for a slightly bumpy texture, which is characteristic of pickling cucumbers. By starting with the right cucumbers, you’ll be on your way to creating mouth-watering pickles that everyone will love.
Step 2: Prepare Your Brine
The brine is a crucial component of the pickling process, as it’s responsible for preserving the cucumbers and giving them their signature tangy flavor. To prepare the brine, you’ll need to combine vinegar, water, salt, sugar, and any desired spices in a large pot.
Here’s a basic brine recipe to get you started:
- 2 cups water
- 2 cups white vinegar or apple cider vinegar
- 1/4 cup pickling salt (or kosher salt)
- 2 tablespoons sugar
Bring the mixture to a boil over medium heat, stirring occasionally to ensure the salt and sugar dissolve completely. Once the brine reaches a boil, remove it from the heat and let it cool slightly.
While this basic brine recipe is a great starting point, you can customize it by adding different spices or adjusting the vinegar-to-water ratio to suit your taste preferences. Some popular additions include garlic cloves, dill, mustard seeds, or red pepper flakes. Experiment with different combinations to find your perfect pickle flavor.
Step 3: Prep Your Cucumbers
Now that you have your brine ready, it’s time to prepare the cucumbers for pickling. Follow these simple steps to ensure your cucumbers are ready for the pickling process:
- Wash the cucumbers thoroughly under cold running water, using a soft brush or cloth to remove any dirt or debris.
- Dry the cucumbers well with a clean towel or paper towel.
- Trim off both ends of each cucumber, as the blossom end contains enzymes that can cause your pickles to become soft during the pickling process.
- Decide on the shape of your pickles. You can slice the cucumbers into rounds, spears, or even leave them whole, depending on your preference.
By properly prepping your cucumbers, you’ll ensure a crunchy and tasty final product that is perfect for snacking or adding to your favorite dishes.
Step 4: Add Your Flavors
With your cucumbers prepped and your brine ready, it’s time to customize your pickles with a variety of flavors. You can add different spices, herbs, and aromatics to the brine to create unique and delicious pickle combinations.
Some popular flavor additions include:
- Garlic cloves
- Fresh dill or dill seeds
- Peppercorns (black, white, or a mix)
- Mustard seeds
- Bay leaves
- Red pepper flakes or whole dried chilies
- Coriander seeds
- Onion slices
Feel free to get creative and experiment with different flavors to find your perfect pickle recipe. To add the flavors to your brine, simply combine your chosen ingredients with the cooled brine in the pot, ensuring they are well mixed.
Remember that the intensity of the flavors will increase over time as the cucumbers soak in the brine, so feel free to adjust the amounts according to your taste preferences.
Step 5: Combine Cucumbers and Brine
Now that your cucumbers are prepped, and your flavored brine is ready, it’s time to combine them to start the pickling process. Follow these steps to ensure even pickling:
- Choose a clean, sterilized jar or container with a tight-fitting lid. Glass jars with rubber seals and clamps, or mason jars with two-piece lids, are popular choices for pickling.
- Pack the cucumbers tightly into the jar, leaving about 1/2 inch of headspace at the top. If you’re using sliced cucumbers, try to arrange them in an orderly fashion to maximize the space.
- Carefully pour the cooled brine over the cucumbers, making sure they are completely submerged. If necessary, use a clean utensil to press the cucumbers down and release any air bubbles.
- Ensure there is still adequate headspace at the top of the jar, as the liquid may expand during the pickling process.
Step 6: Let Them Pickle
With your cucumbers and brine combined in the jar, it’s time to let the pickling process begin. To ensure your pickles develop their full flavor and crunch, follow these guidelines:
- Seal the jar or container tightly with its lid, ensuring that no air can enter.
- Store the jar in a cool, dark place such as a pantry or cupboard, away from direct sunlight and heat sources. Alternatively, you can also store the jar in the refrigerator.
- Allow the cucumbers to pickle for a minimum of 24 hours. For even better flavor development, let them sit for at least a week or more. The longer they sit, the more intense and complex the flavors will become.
Keep in mind that the pickling process will take longer at cooler temperatures, so if you’re storing your pickles in the refrigerator, you may need to wait a bit longer before they reach their optimal flavor.
By giving your pickles enough time to soak in the brine and absorb the flavors, you’ll be rewarded with a delicious and satisfying homemade snack.
Enjoy Your Homemade Pickles!
Congratulations, you’ve successfully made your own pickles at home! Now it’s time to enjoy the fruits of your labor. Homemade pickles make a great snack on their own or can be used to enhance other dishes such as sandwiches, burgers, and salads. You can also share your homemade pickles with friends and family as a thoughtful and delicious gift.
Once your pickles have reached their desired flavor, remove them from the jar using clean utensils to avoid contaminating the remaining brine.
Store any uneaten pickles in the refrigerator to maintain their freshness and crunch. The colder temperature will also slow down the pickling process, preventing them from becoming too sour.
Consume your homemade pickles within a few weeks for the best taste and texture. While they can last longer if properly stored, their quality may decline over time.

